
Overview
VeChain Chip Verify SDK can provide VeChain NFC SDK for VeChain NFC chips verification and VeChain Sensor SDK for collect temperature, humidity and acceleration data according to your settings and ensure that the temperature, humidity and acceleration data is reliable and can be verified.
For first time users
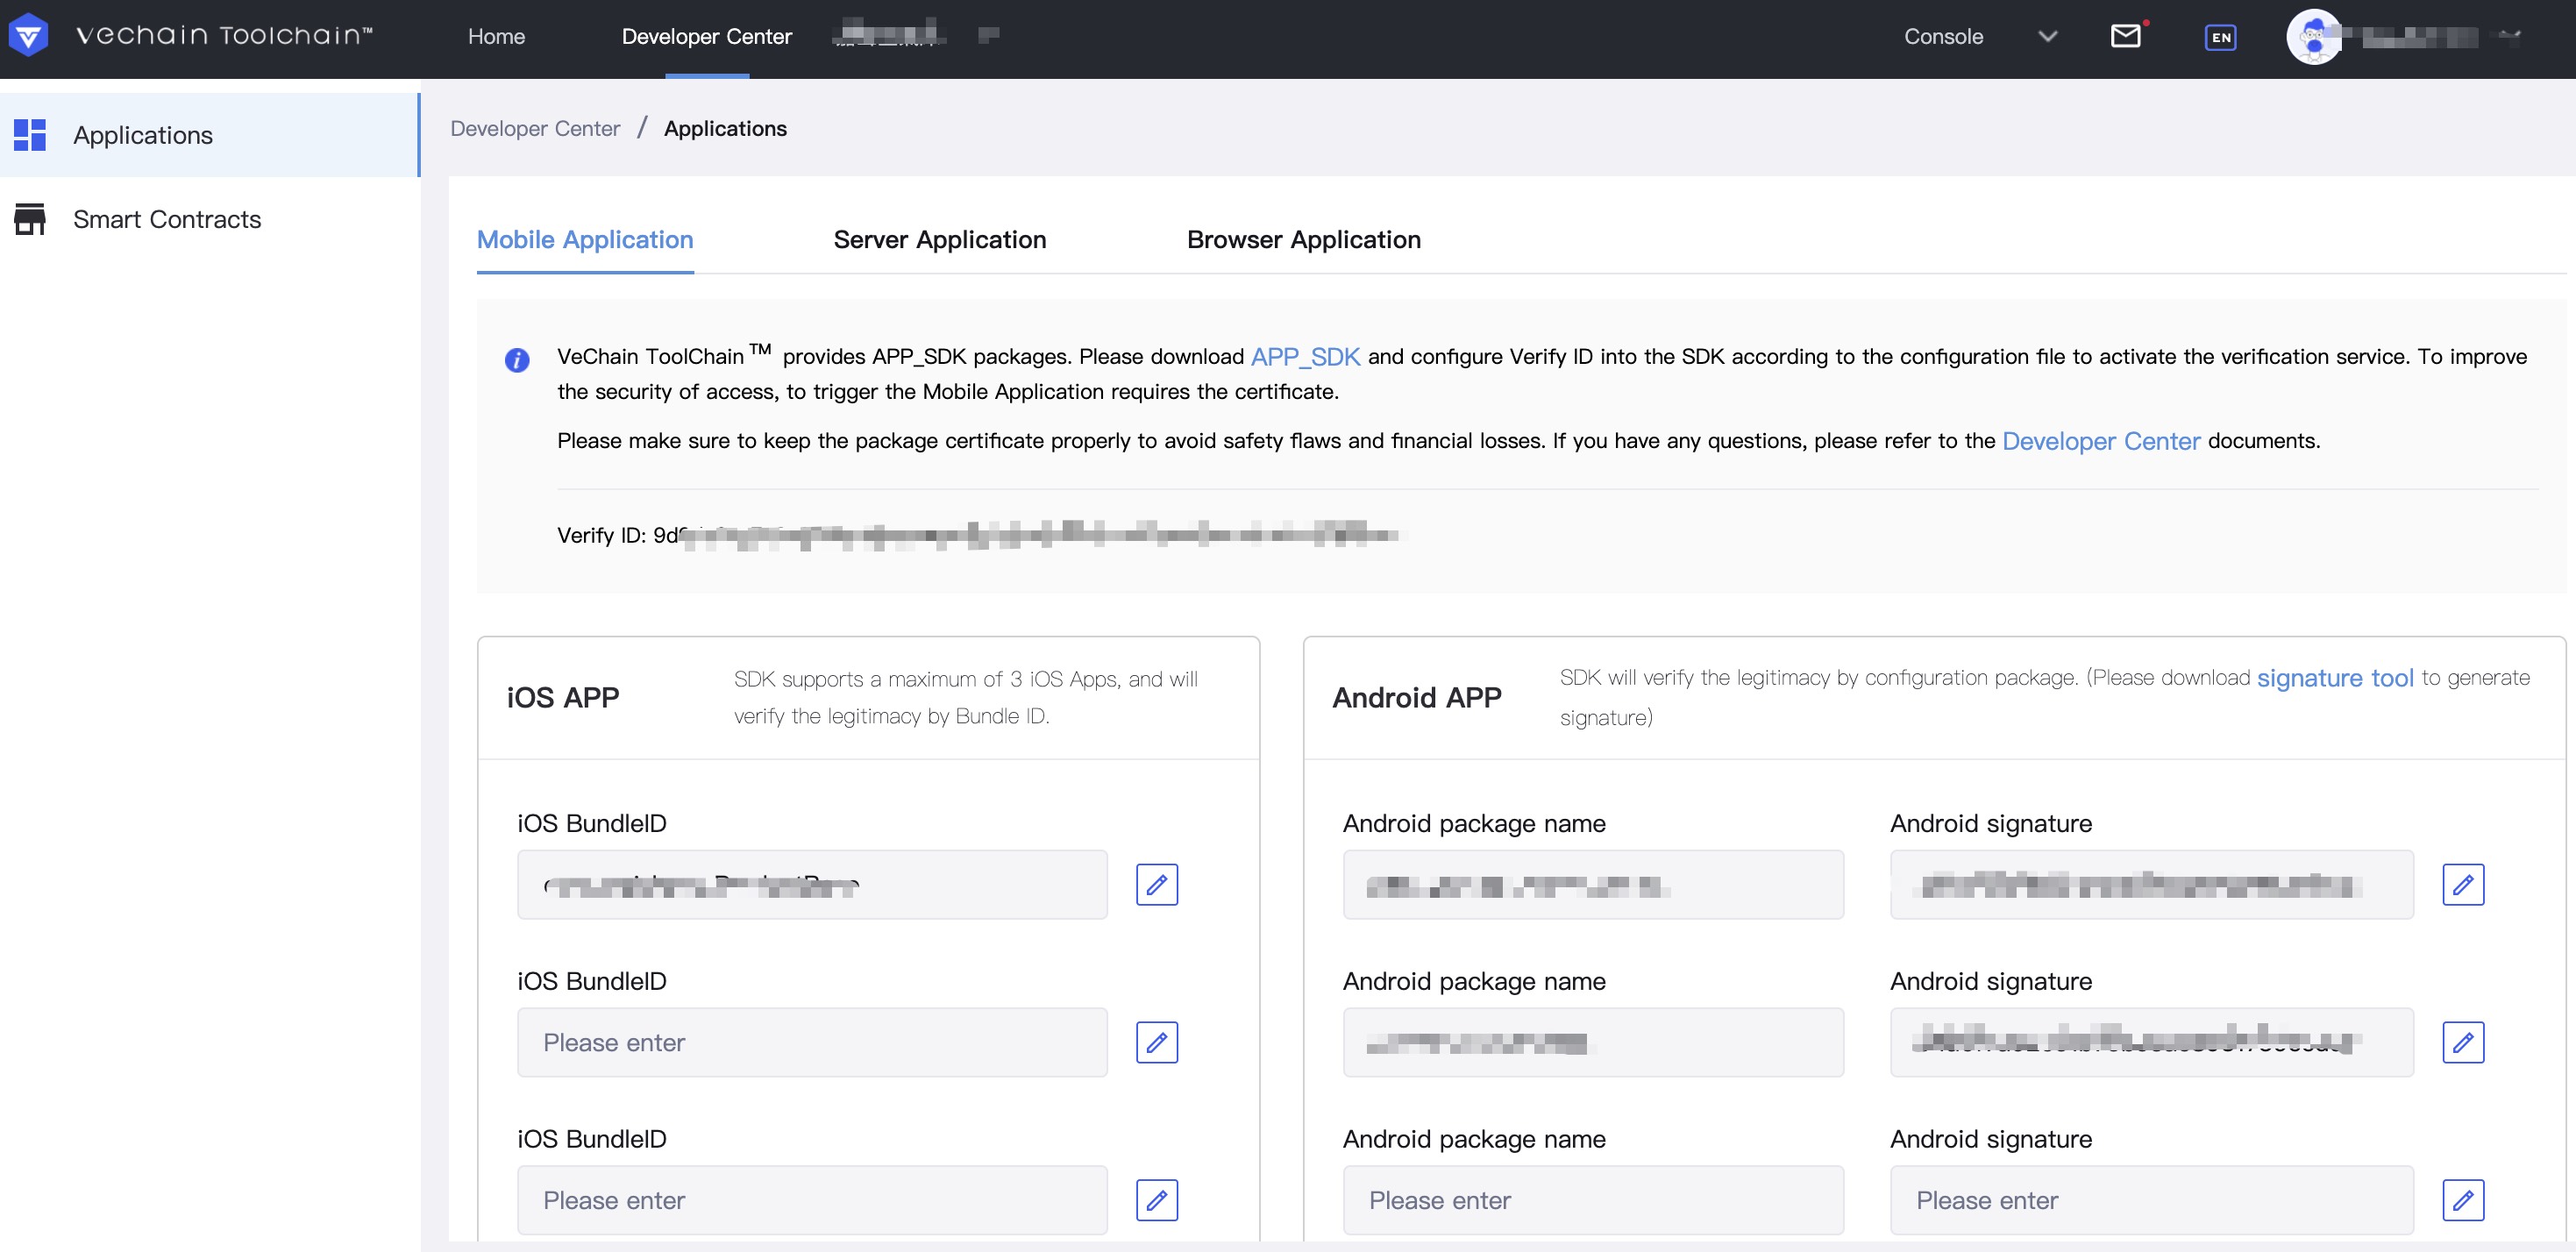
Step 1: Register the app
Log in with your account and register your app. Connect toolchainsupport@vechain.com for more support.
-
"iOS BundleID" field - This ID uniquely identifies your app on the device. Your app bundle id can find in your Xcode Project - General - "Bundle Identifier"
Once registered, record the Verify ID (circled in red box) for SDK registration.
VeChainNFCSDK.registerSDK("Verify ID");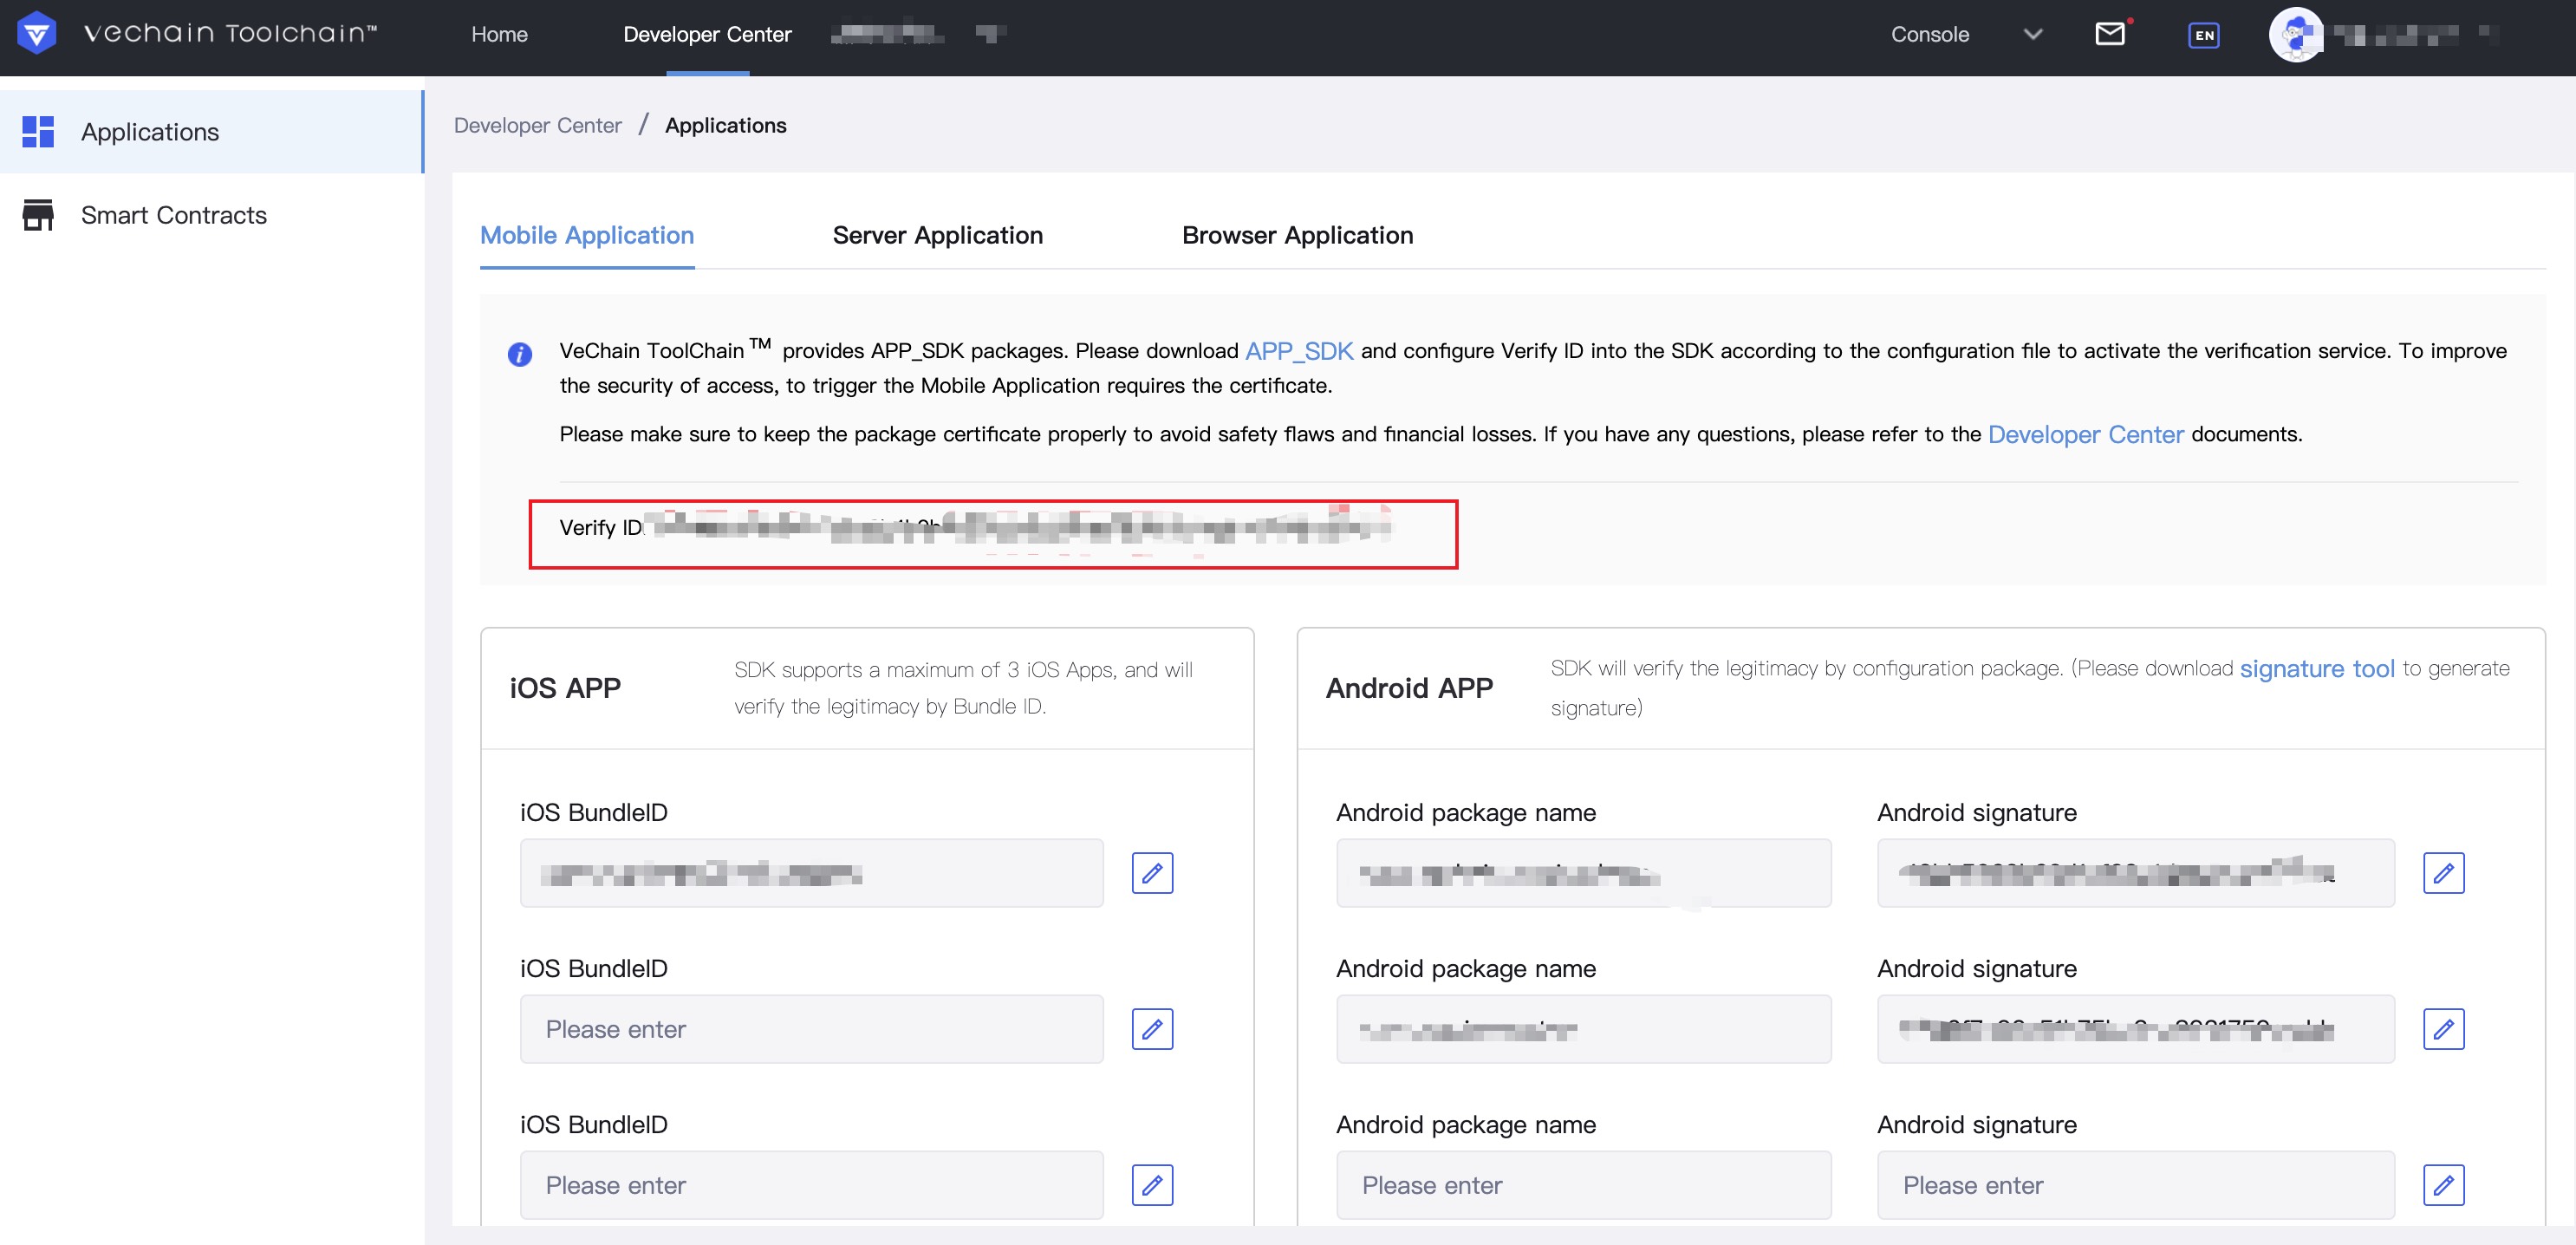
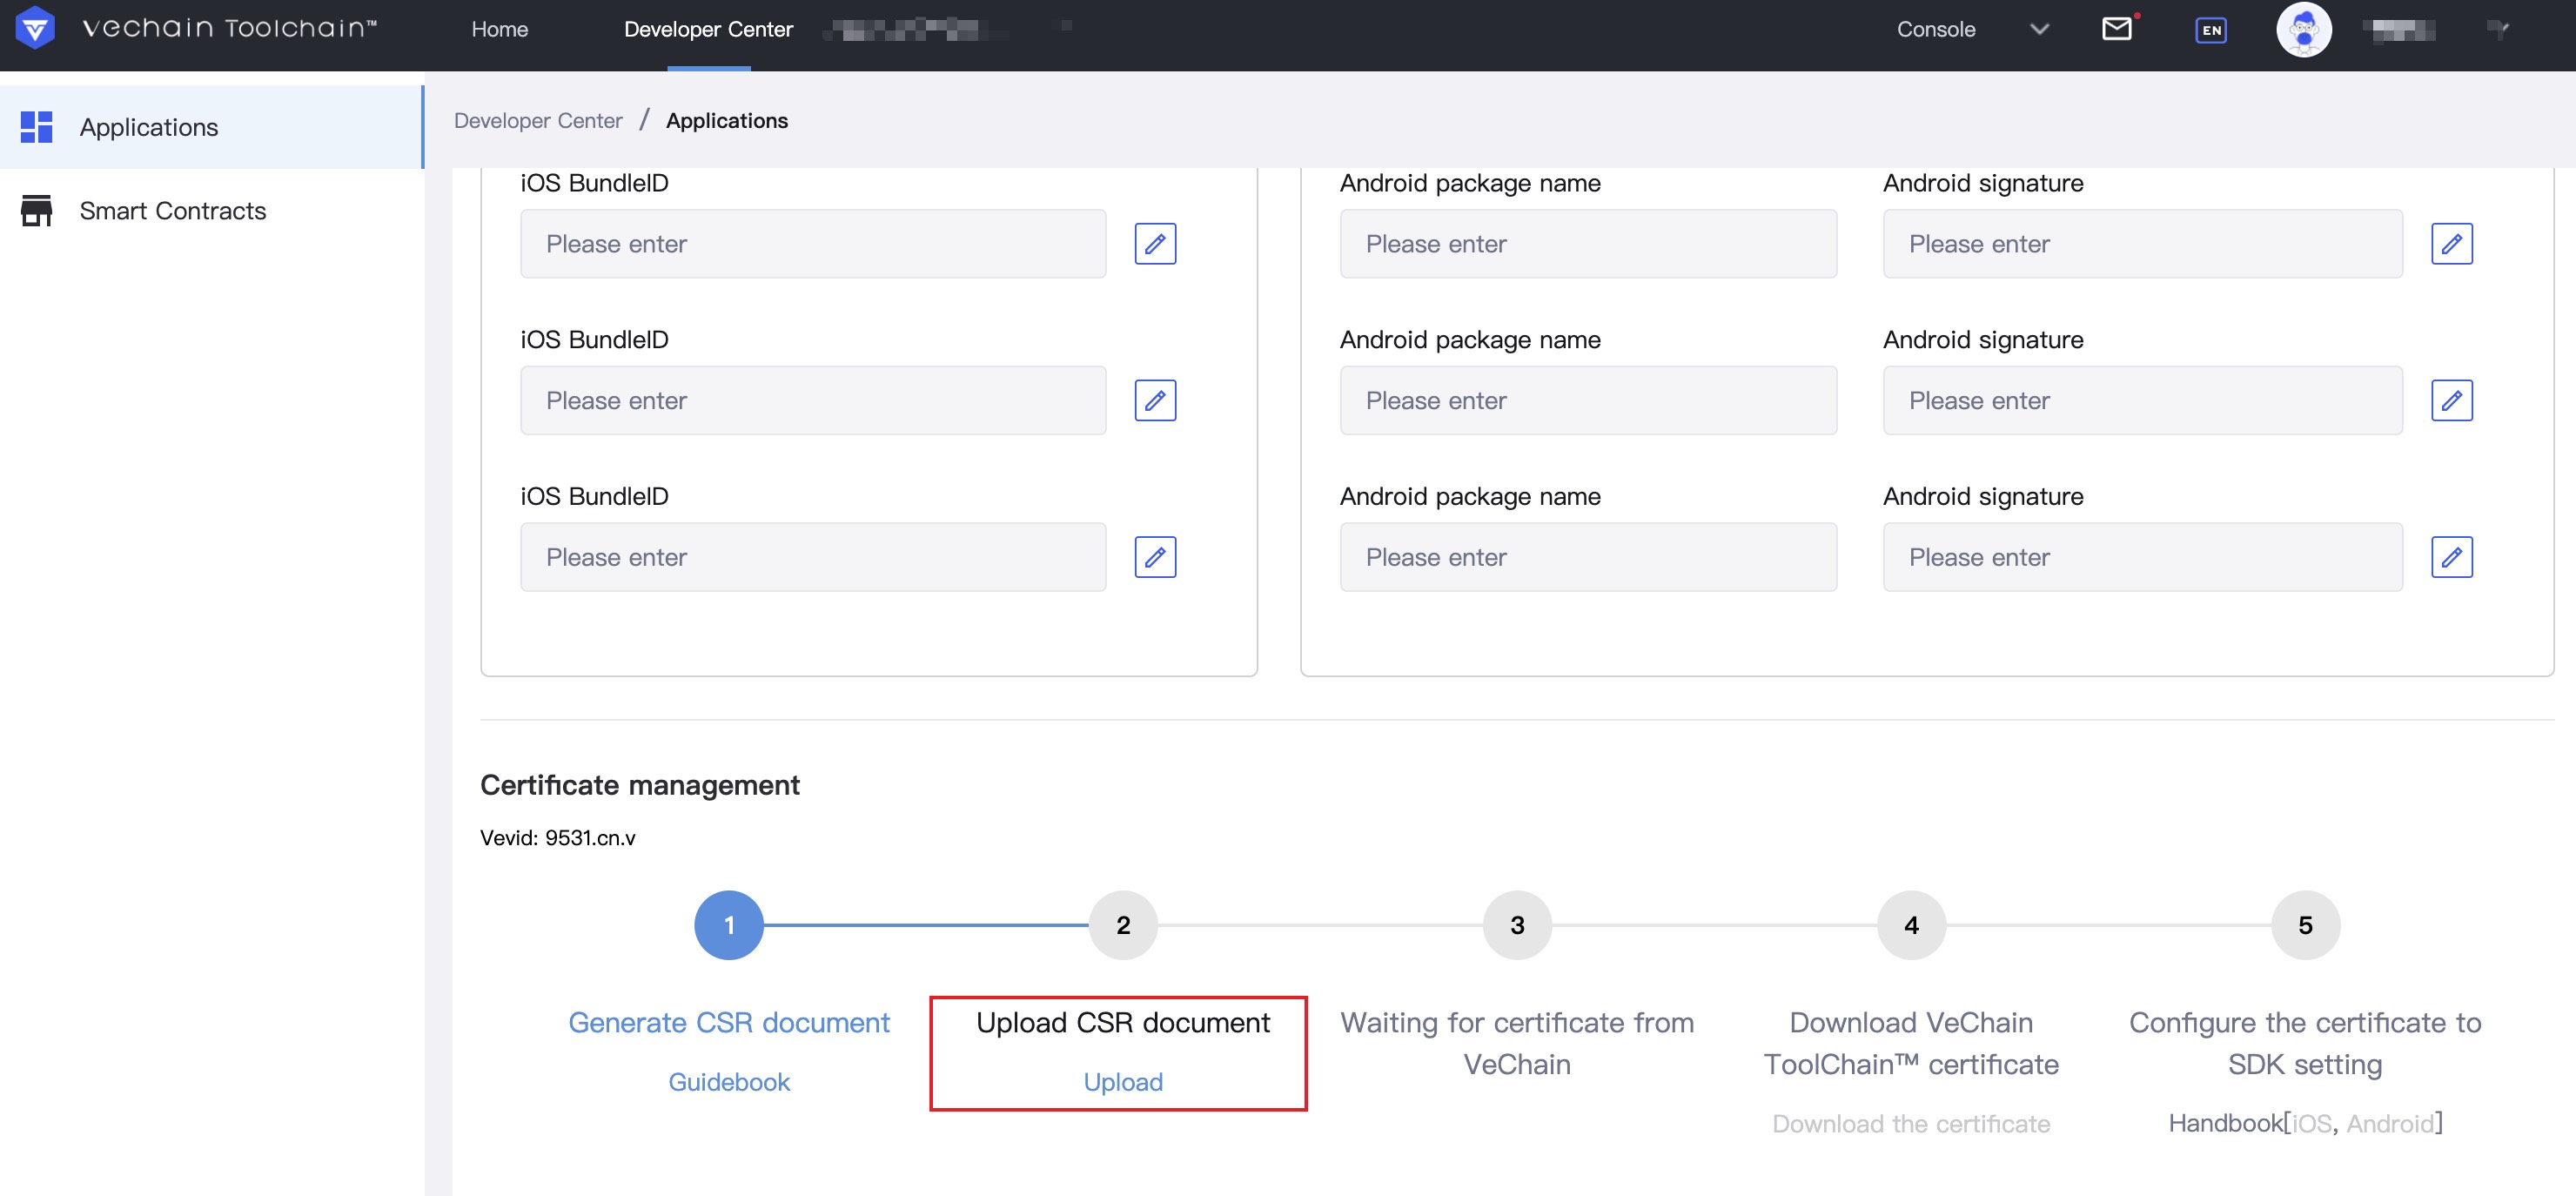
Step 2: Upload CSR file
- Generate a CSR file: How to generate a csr file.
- Upload your CSR file.
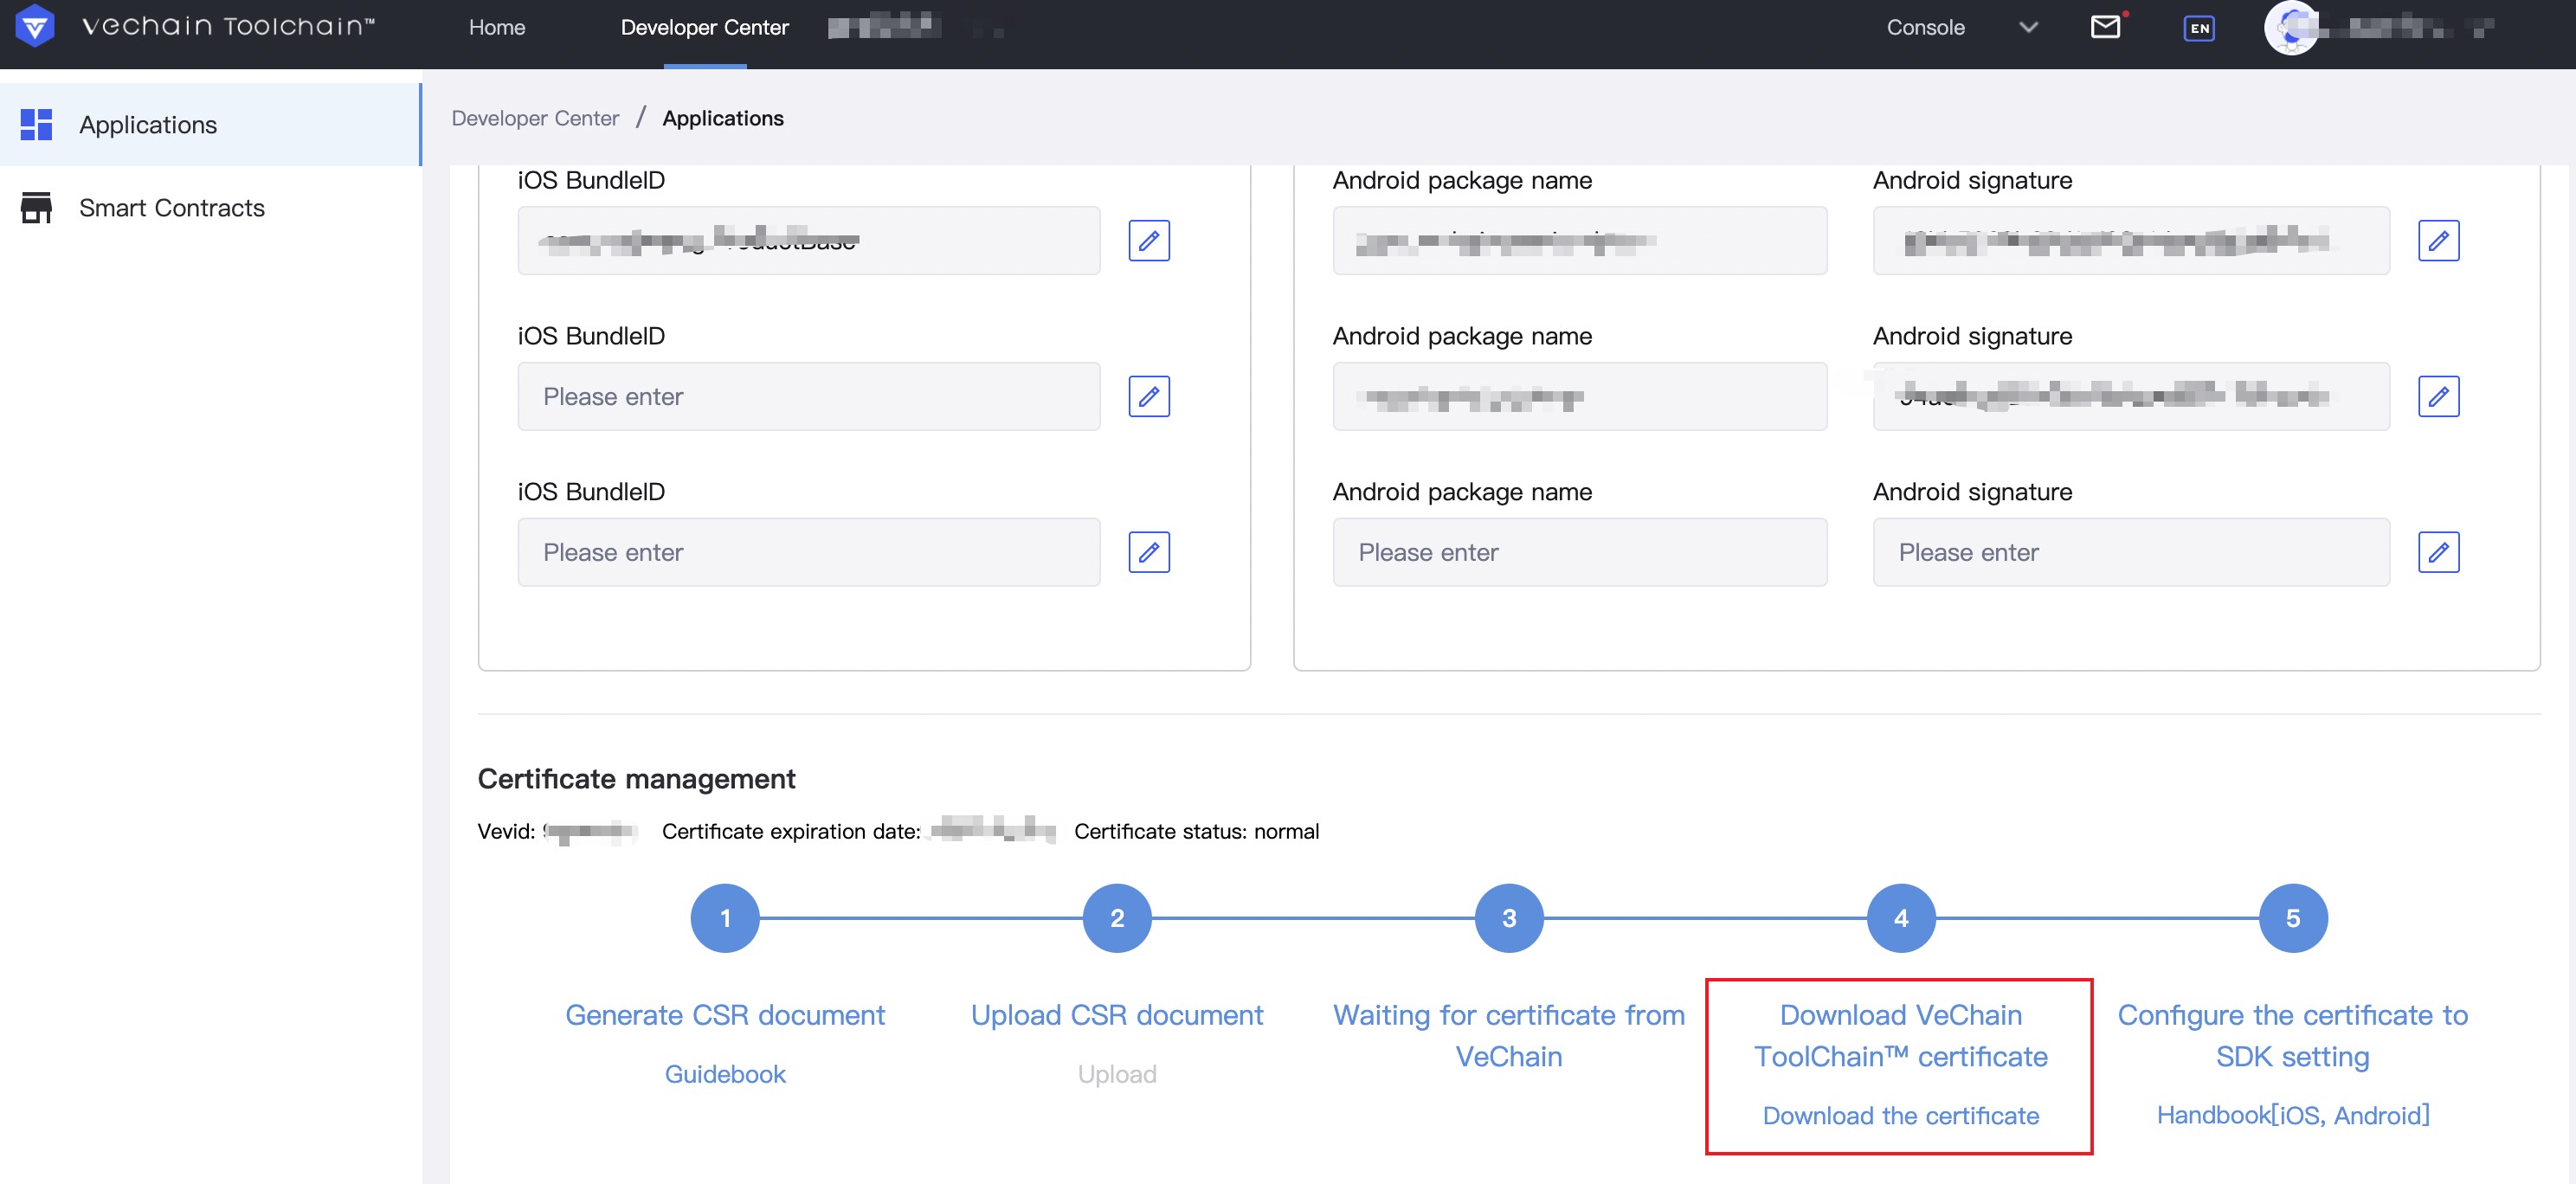
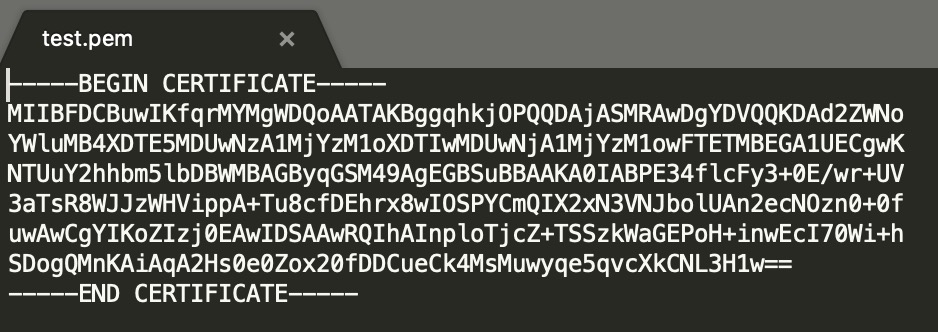
Step 3: Download certificate
This certificate will be used as the parameter in SDK later on.
More Details please see : Appendix A: FAQ # How to Sign ChallengeID
Step 4: Open the Sample Application in Xcode and take as reference
See: Sample Application
Get Started
Requirements
1.The minimum platform for the SDK is iOS 13.0
2.Position must be turned on, otherwise data cannot be read
Manual Import
Xcode
-
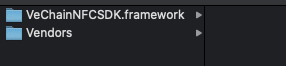
Unzip the VeChainNFCSDK.zip and you can see the list as below:
-
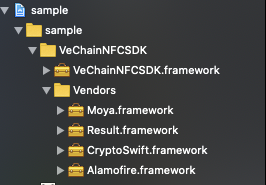
Import the VeChainNFCSDK.framework and Vendors in your Xcode project
-
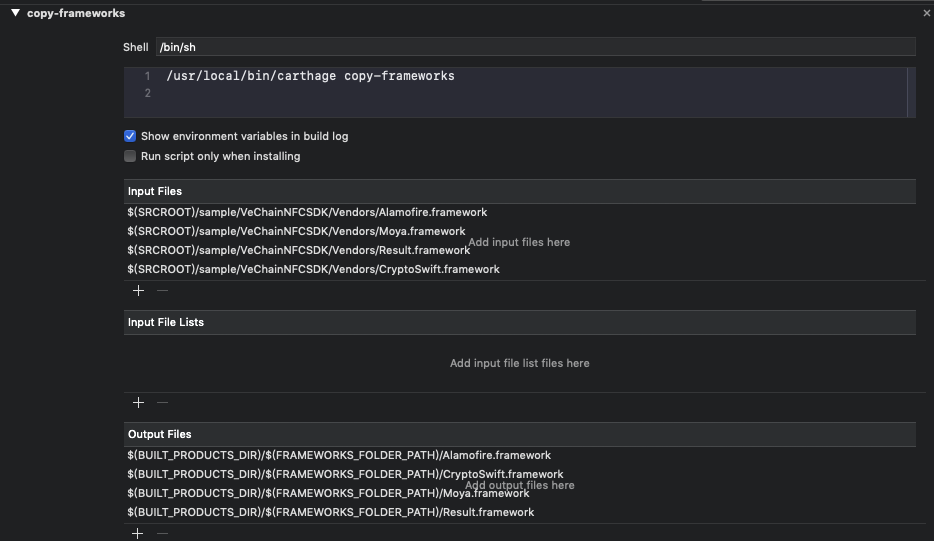
Select Target->Build Phases click
+and add New Run Script PhaseShell content:
/usr/local/bin/carthage copy-frameworksInput Files:
$(SRCROOT)/sample/VeChainNFCSDK/Vendors/Alamofire.framework $(SRCROOT)/sample/VeChainNFCSDK/Vendors/Moya.framework $(SRCROOT)/sample/VeChainNFCSDK/Vendors/Result.framework $(SRCROOT)/sample/VeChainNFCSDK/Vendors/CryptoSwift.framework
Output Files:
$(BUILTPRODUCTSDIR)/$(FRAMEWORKSFOLDERPATH)/Alamofire.framework $(BUILTPRODUCTSDIR)/$(FRAMEWORKSFOLDERPATH)/CryptoSwift.framework $(BUILTPRODUCTSDIR)/$(FRAMEWORKSFOLDERPATH)/Moya.framework $(BUILTPRODUCTSDIR)/$(FRAMEWORKSFOLDERPATH)/Result.framework
-
Close the bitcode for your project
-
Request NFC access and config iso-7816 AIDs
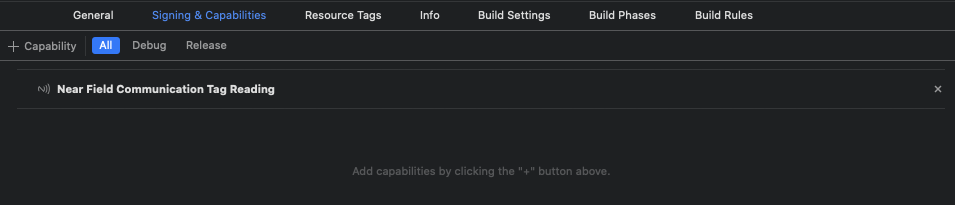
Add the iso-7816 AID configs to your info.plist
<key>NFCReaderUsageDescription</key>
<string>NFC tag to read NDEF messages into the application</string>
<key>com.apple.developer.nfc.readersession.iso7816.select-identifiers</key>
<array>
<string>D2760000850101</string>
<string>D2760000850200</string>
</array>
Appendix A: FAQ
1. How to sign ChallengeID
You have two options to sign the ChallengeID
Parameter
- certString : Open your certificate (xxx.pem file) download from VeChain Developer Certer, copy the content between begin & end line.
- certKey : Open the Terminal and input below commands:
openssl ec -noout -text -in yourkey.key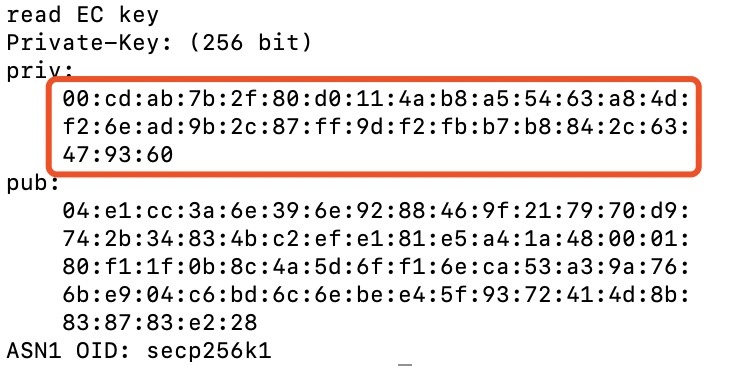
Remove all the colons of priv. Sometimes, OpenSSL is adding a null byte (0x00) in front of the private part, you have to trim any leading zero bytes.
The private key must be 32 bytes and not begin with 0x00.
cdab7b2f80d0114ab8a55463a84df26ead9b2c87ff9df2fbb7b8842c63479360 - challengeId :
Option 1:
Sign ChallengeId locally - use CertUtils from Sample Application and call method .
CertUtils.h
+ (NSString *) getSignature: (NSString *)certString
               certKey: (NSString *)certKey
               challengeId: (NSString *)challengeId
sign challengeId
func sign(_ challengeId: String, signNotifier: SignNotifier) {

        let certString = "your cert"
        let privateKey = "your private key"
        let signature = CertUtils.getSignature(certString, certKey: privateKey, challengeId: challengeId)
        signNotifier.onSignResult(signature:signature, signerAppId: appid)

        let signature = CertUtils.sign(challengeId)

        signNotifier.onSignResult(signature:signature)
}
Option2:
Sign ChallengeId from server - save your certification & private key on your own server, then return signature that signed on server .
Notice: Even you failed to get the signature from your server, please still call this function signNotifier.onSignResult(signature: nil)
      func sign(_ challengeId: String, signNotifier: SignNotifier) {

        let urlString = "your server url"
        let params = ["params": [challengeId]]
        let request = AF.request(urlString, method: .post,
                                        parameters: params, encoding: JSONEncoding.default)
        /// request signature from server
        request.validate(contentType: ["application/json"])
            .responseJSON { [self] (response) in

                var signature: String? = nil
                switch response.result {
                case .success:

                    if let value = response.value as? [String: AnyObject] {
                        if let sig = (value["data"] as! [String: AnyObject])["signature"] as? String {
                            signature = sig
                        }
                    }
                    signNotifier.onSignResult(signature:signature)

                case .failure(_):
                    signNotifier.onSignResult(signature:signature)
                }
        }
    }
2. Check for NFC availability
Minimum device requires iPhone7 or iPhone7Plus, NFC is available above iOS11.
3. Supported Swift version
| Version |
| 5.1.3 |
| 5.2 |
| 5.2.2 |
| 5.2.4 |
| 5.3 |
| 5.3.1 |
| 5.3.2 |
| 5.4 |
Comments
0 comments
Please sign in to leave a comment.