
- Standard DCP Template
Based on our experience in various industries, and from different business needs, VeChain has summarized the most frequently used DCPs to help clients manage process design easily. Each DCP contains two parts: <Basic Information> and <Customized Information>. Basic Information is set by default and cannot be changed; Customized Information can be modified.
- Create a new DCP
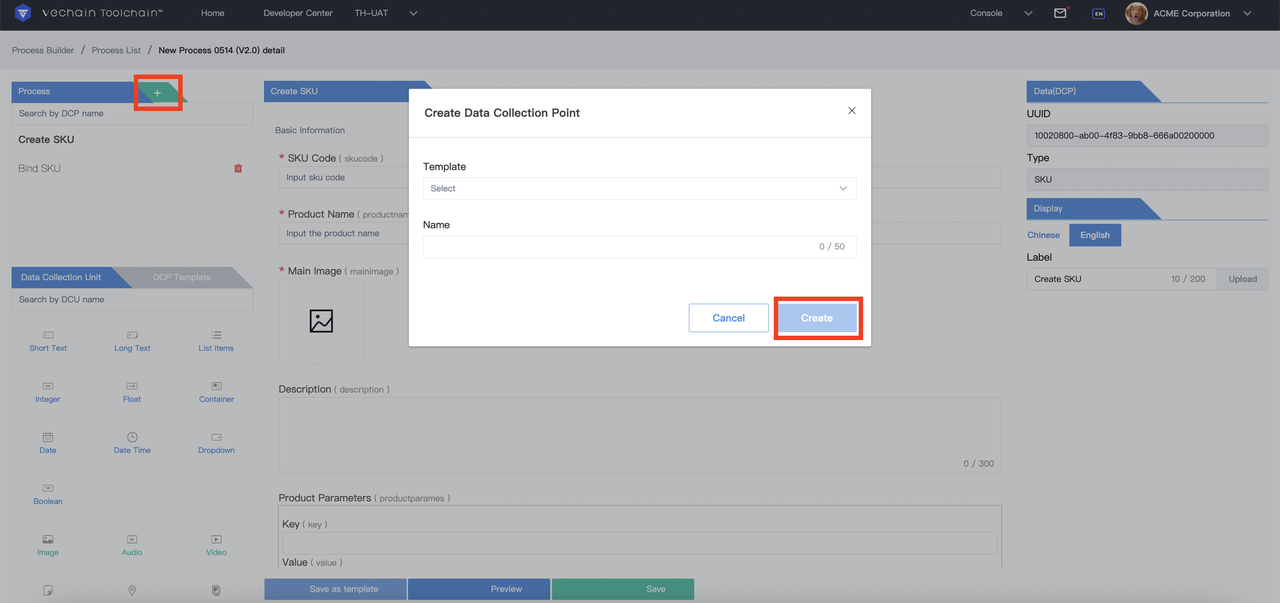
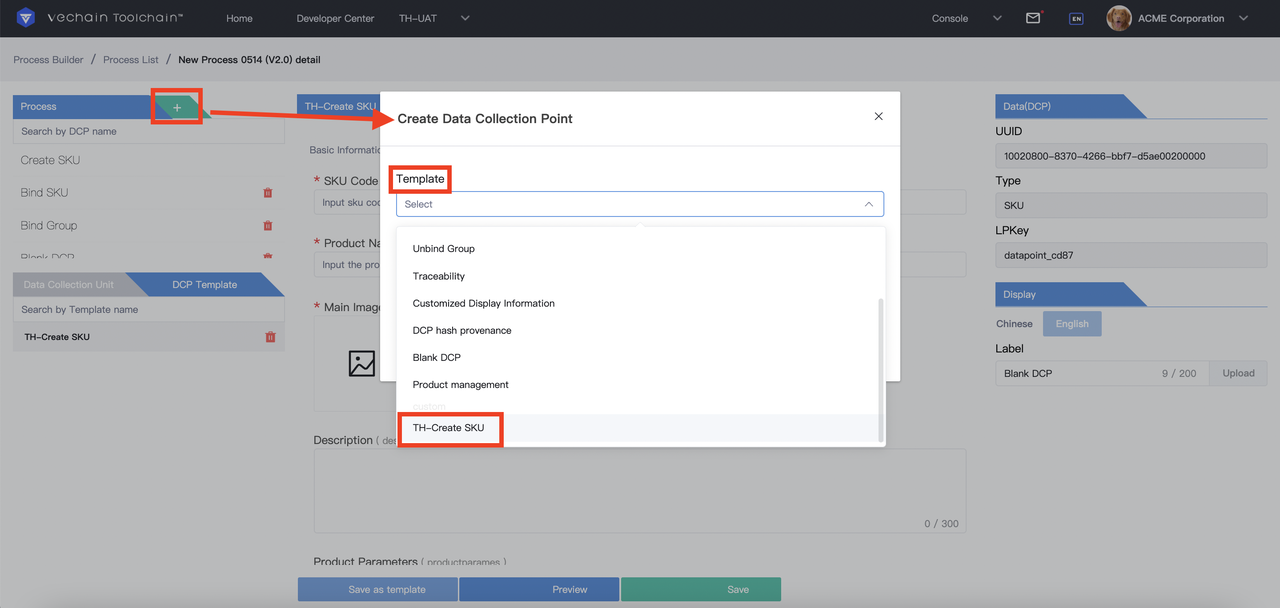
Under <Version Information>, click <Details> to enter the Process Builder. Click <+> to create a new DCP and select the template for it. Enter the new DCP name, click <Create>, and the newly created DCP will be in the left menu bar under.
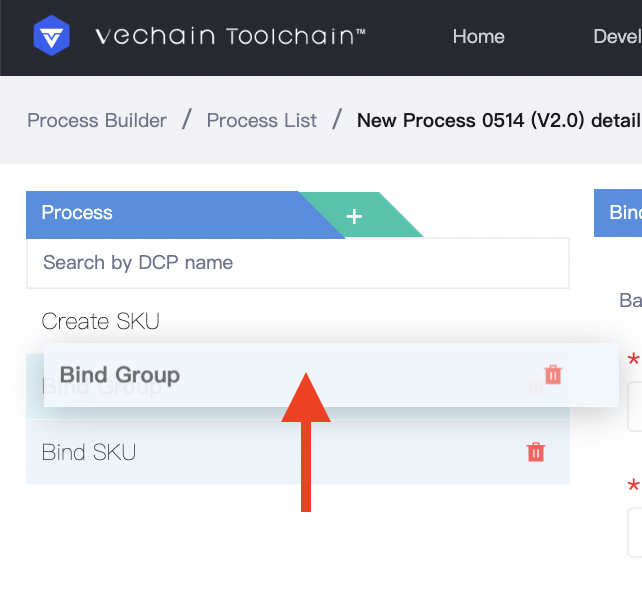
By default, newly created DCP will be the last on the list. You can adjust the order of DCPs, e.g. switch the position of Bind SKU and Bind Group.
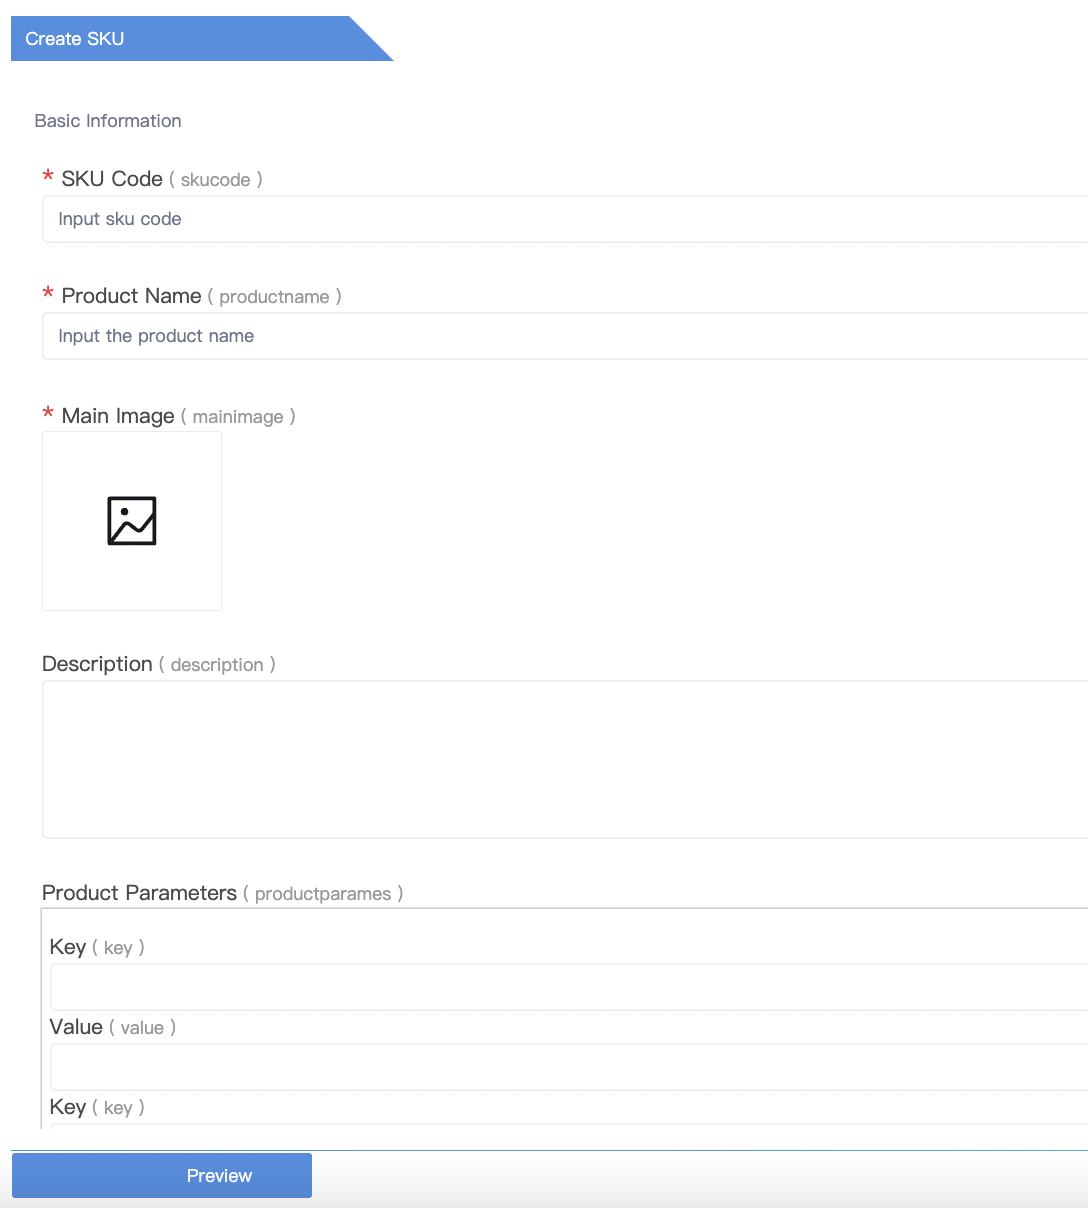
- The DCP <SKU> is mandatory for creating SKUs and binding products to SKUs. There can be multiple SKU DCPs, and the DCP names of different SKUs can be different.
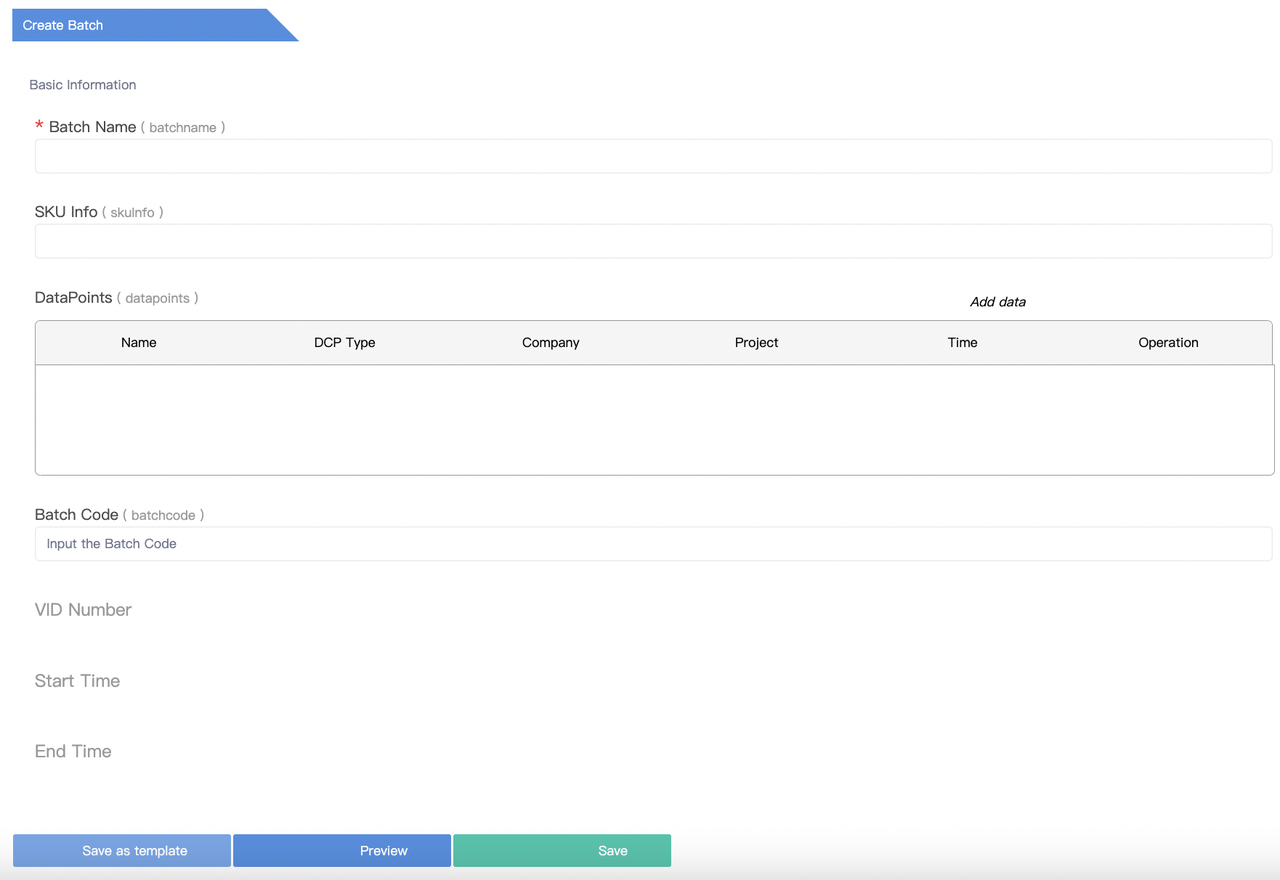
- <Batch> DCP is used to connect products and the DCPs. There can be multiple batches, and the DCP names of each Batch DCP can be different.
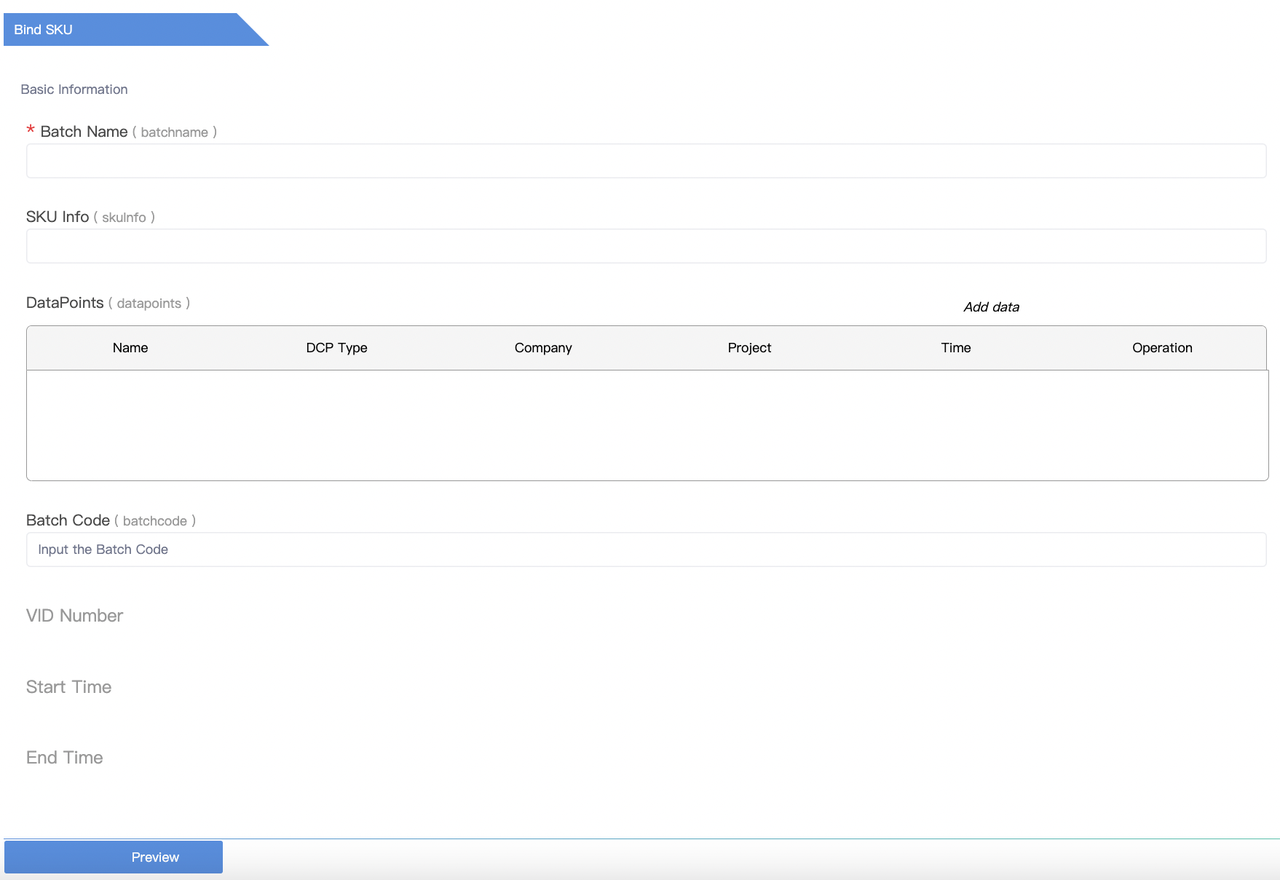
- <Bind SKU>: there can be more than one Bind SKU DCPs, and the DCP name of each Bind SKU DCP can be different.
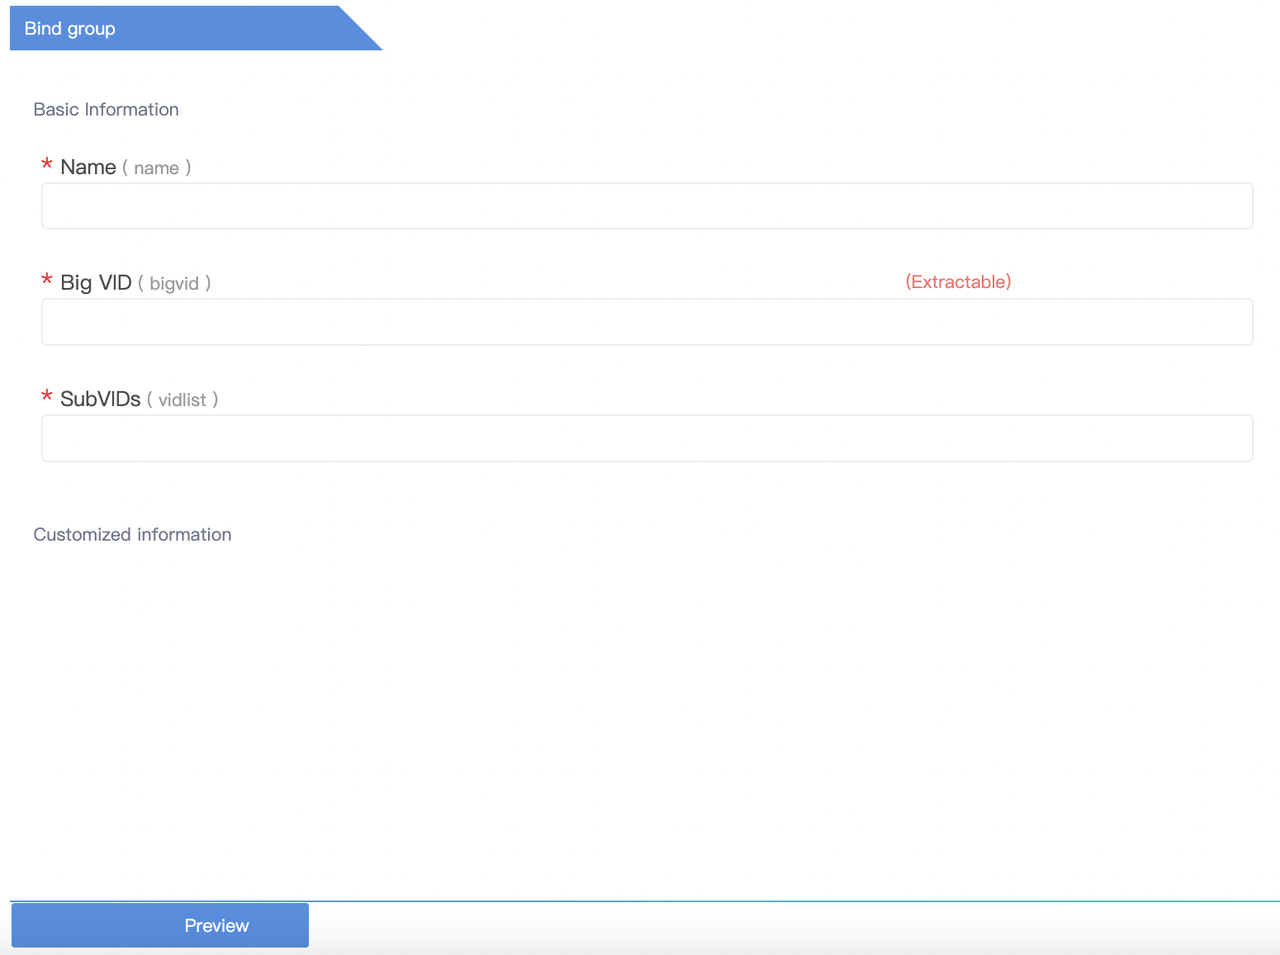
- <Bind Group> is commonly used to bind a collection of boxes, bottles, and trays, so that when goods are packed into collections for delivery, information is collected by scanning the collection tags just once for better efficiency.
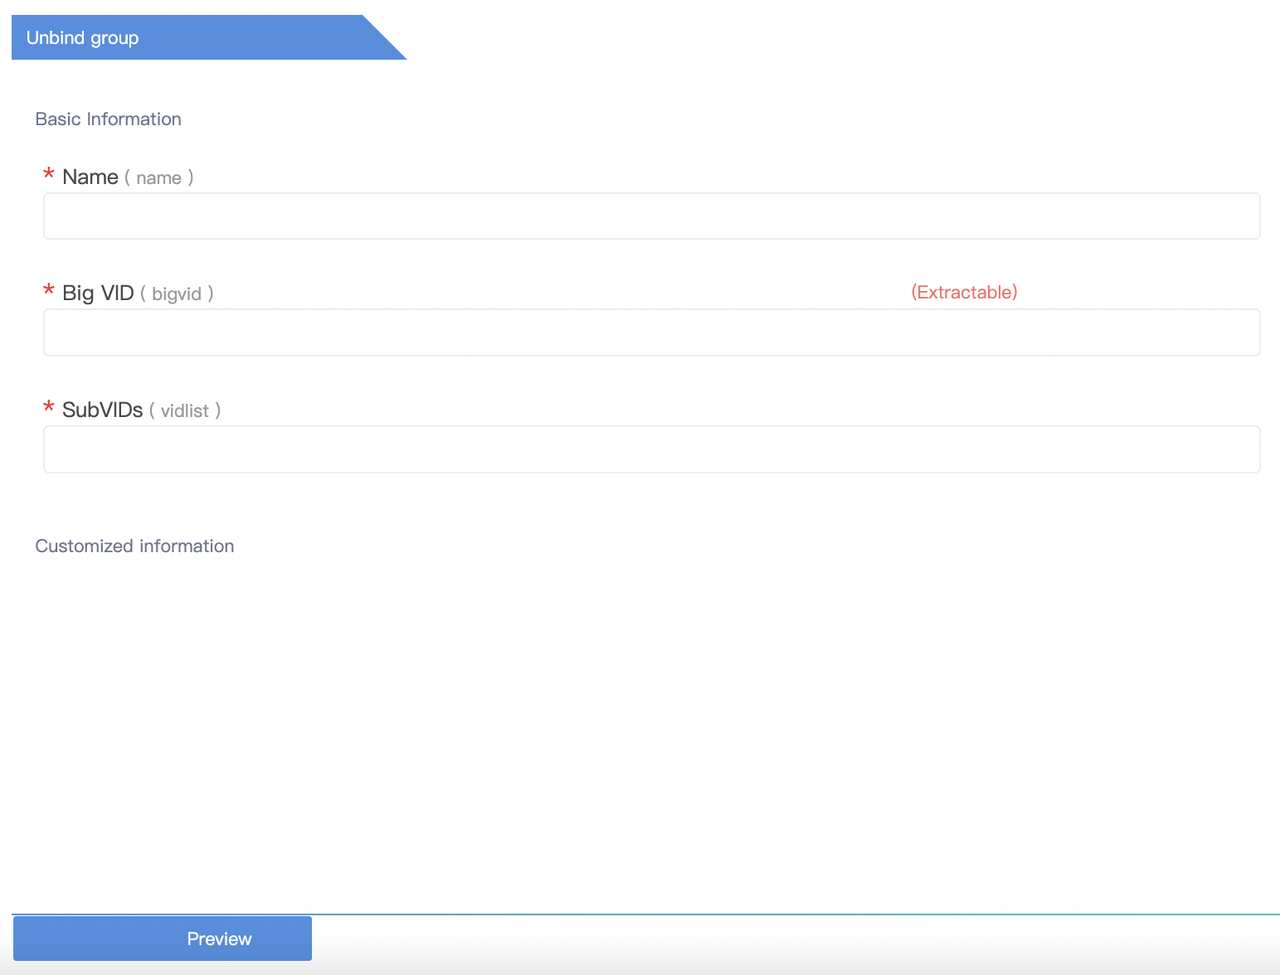
- <Unbind Group> is used to unpack and unbind VIDs bound in a group, and is usually used in combination with <Bind Group>.
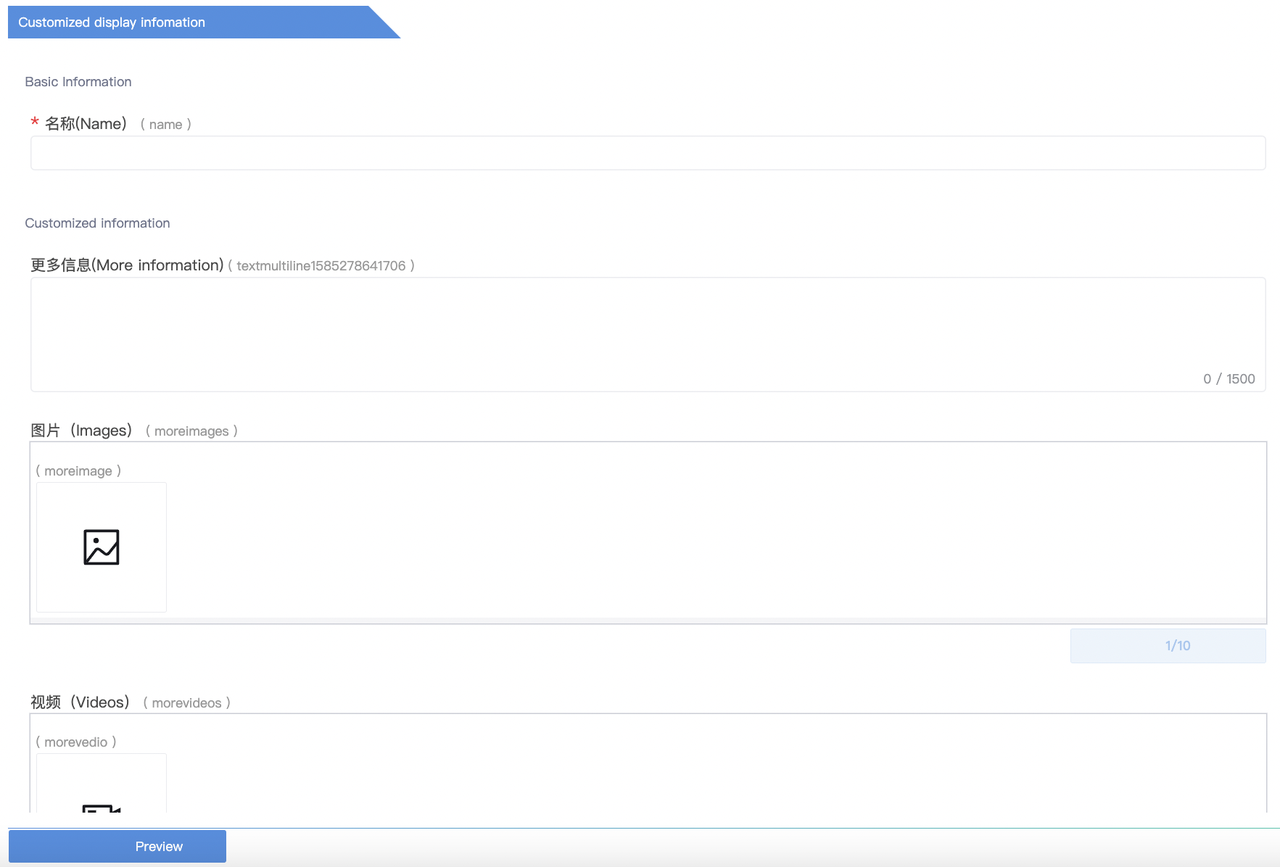
- <Customized Display Information> is where you add extra information on the landing page displayed to the end consumer. It accepts multiple media formats.
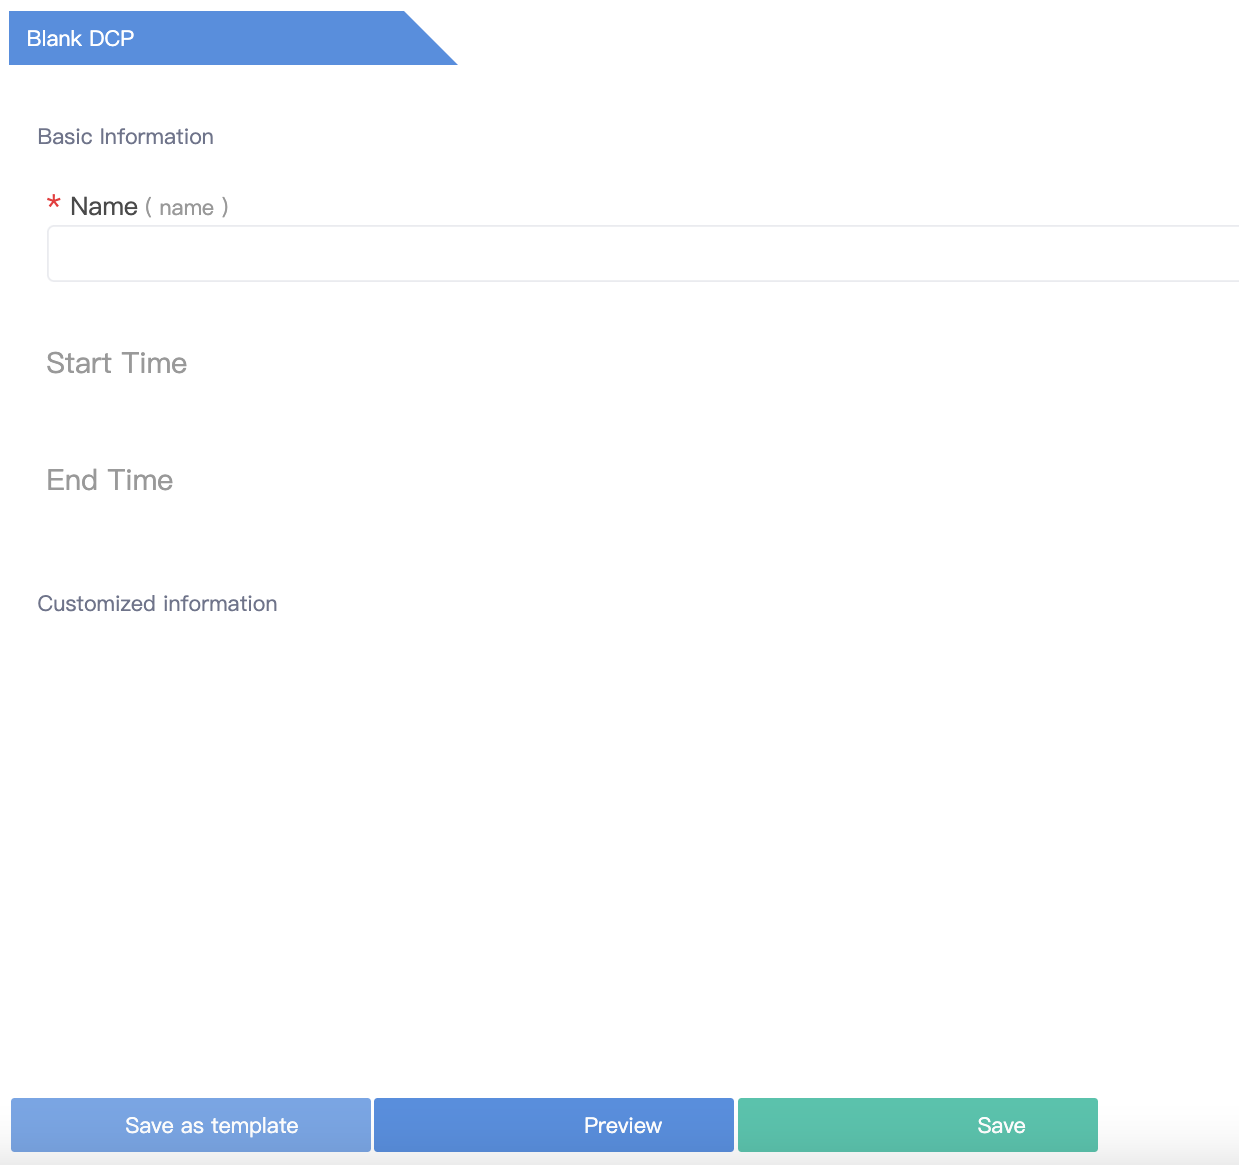
- <Blank DCP>: if you need to create a DCP from scratch, you can select the Blank DCP, add your required DCUs and then save it as a new DCP template.
- Customized DCP
Since each enterprise has its own business model, the business data to be collected will also be different, resulting in the different content of DCPs.
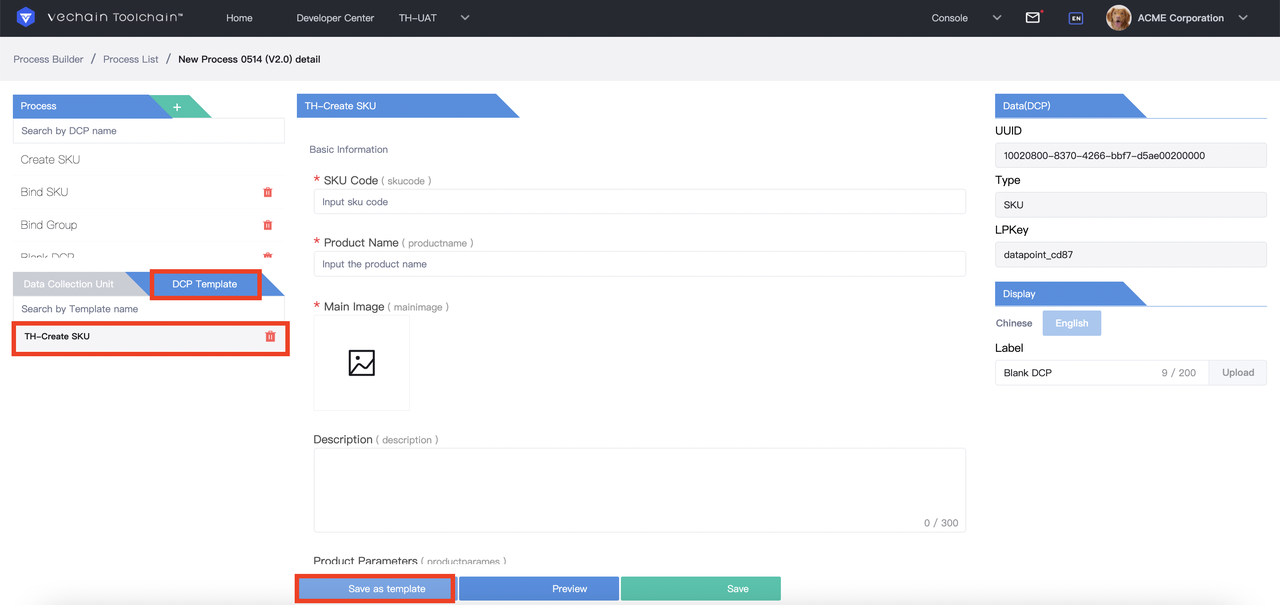
Based on the general DCP templates, the admin can adjust the DCUs in the custom information, save the editted DCP as a new template and use it as your own DCP template in the future.
After the DCP template is created, you need to exit the current DCP, enter the process page to complete the data synchronization, and then re-enter the <Details> page to view your customized DCP on the left menu bar.
When you want to create a new DCP, you can choose your customized DCP template.
Comments
0 comments
Please sign in to leave a comment.