
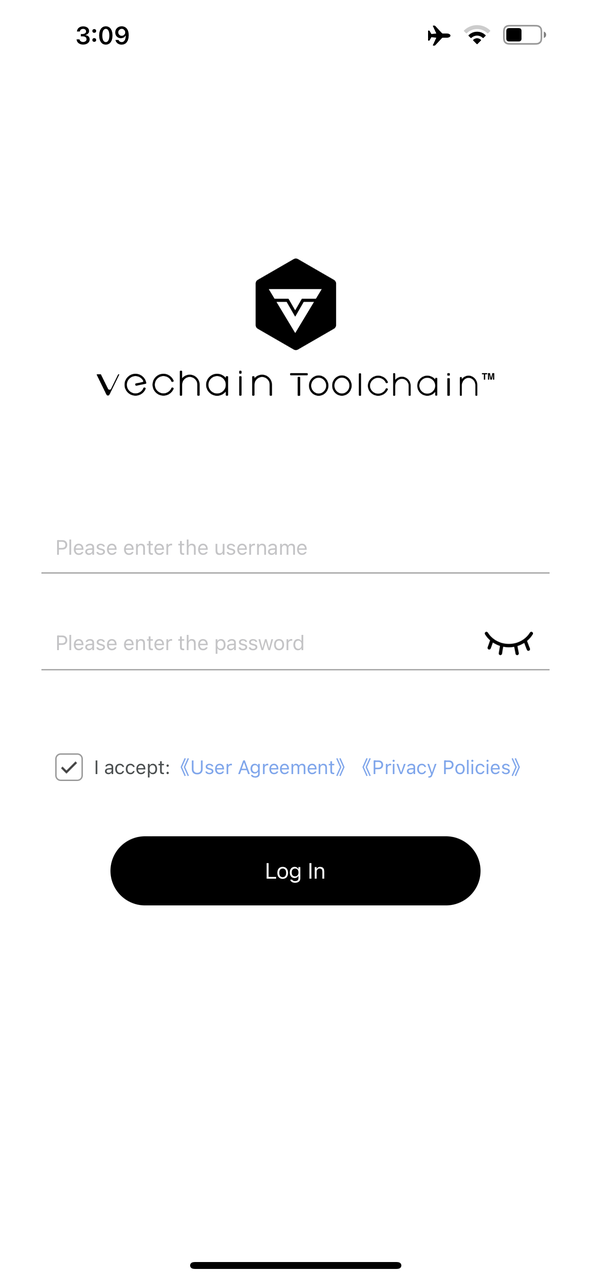
- Login
Enter ToolChain Work. Enter your account name and password (the same as your login details on Toolchain web app) to login.
After the administrator assigns access permissions to user accounts, the users will be able to view a list of projects they have access to.
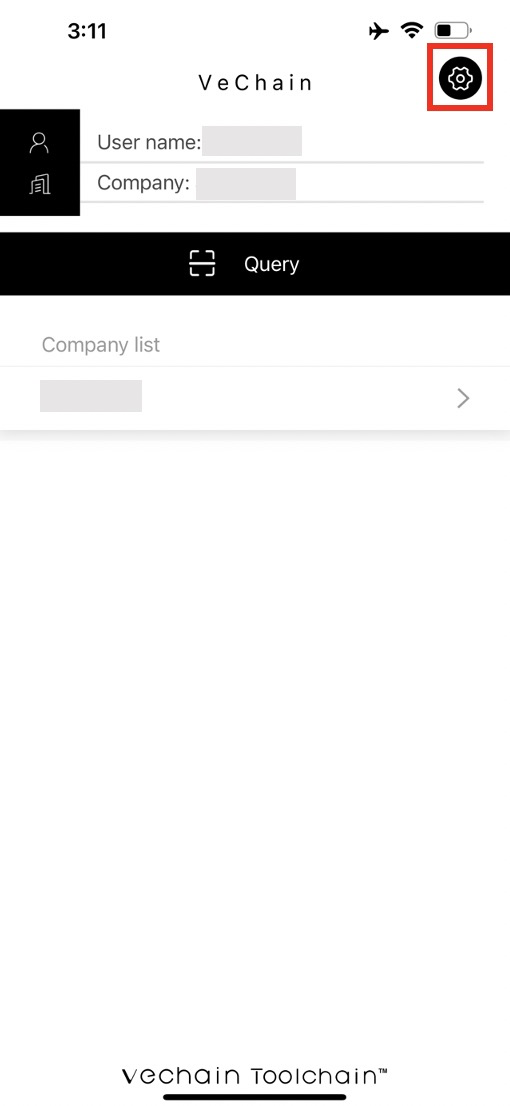
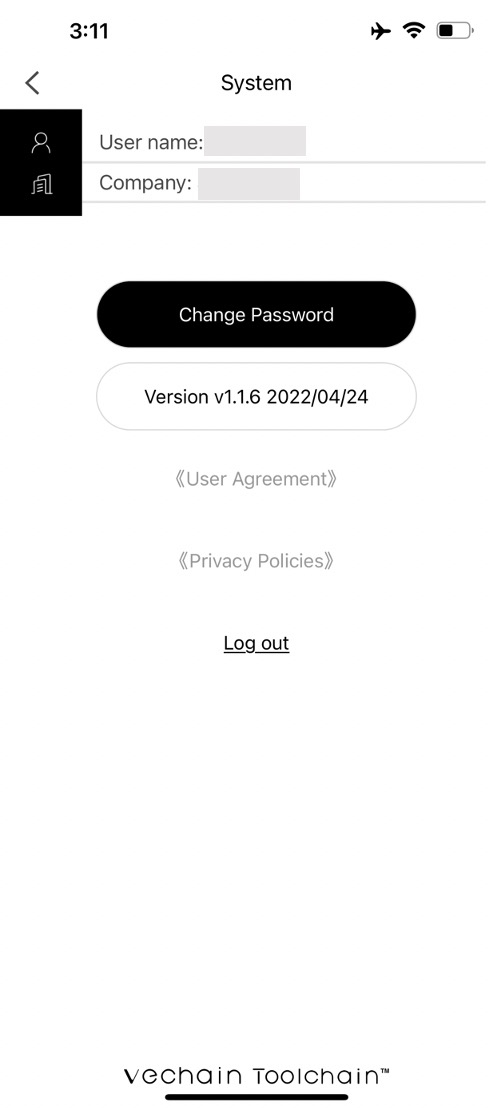
- System Setting
Change Password / Logout
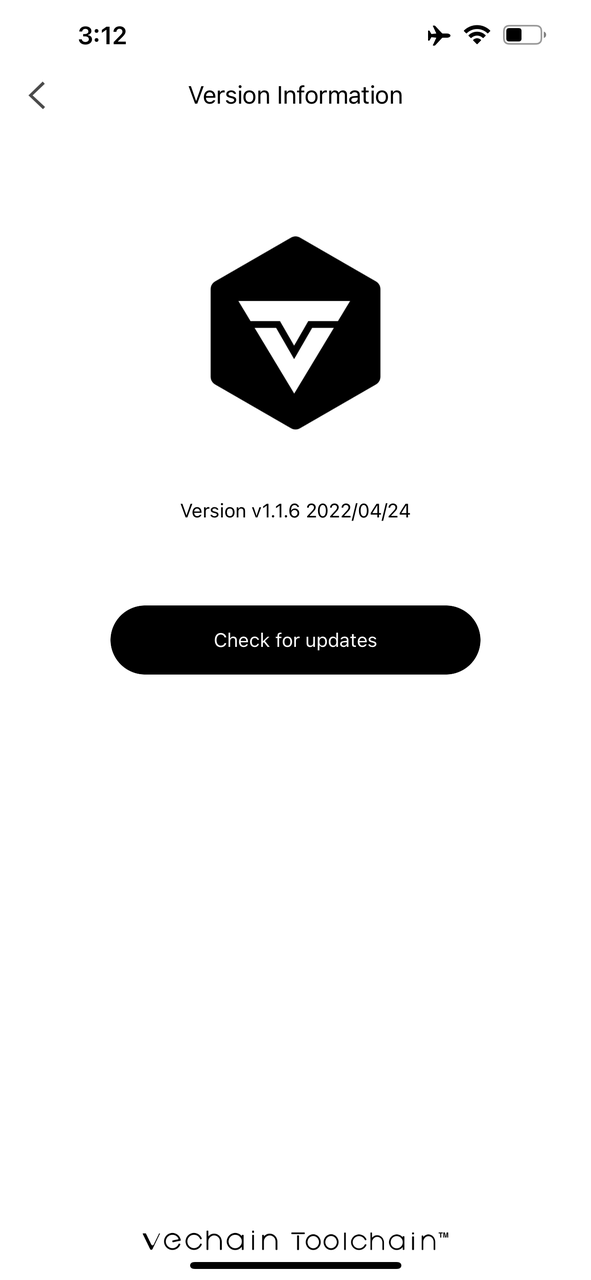
Tap on <Version> to view your current version and check for updates.
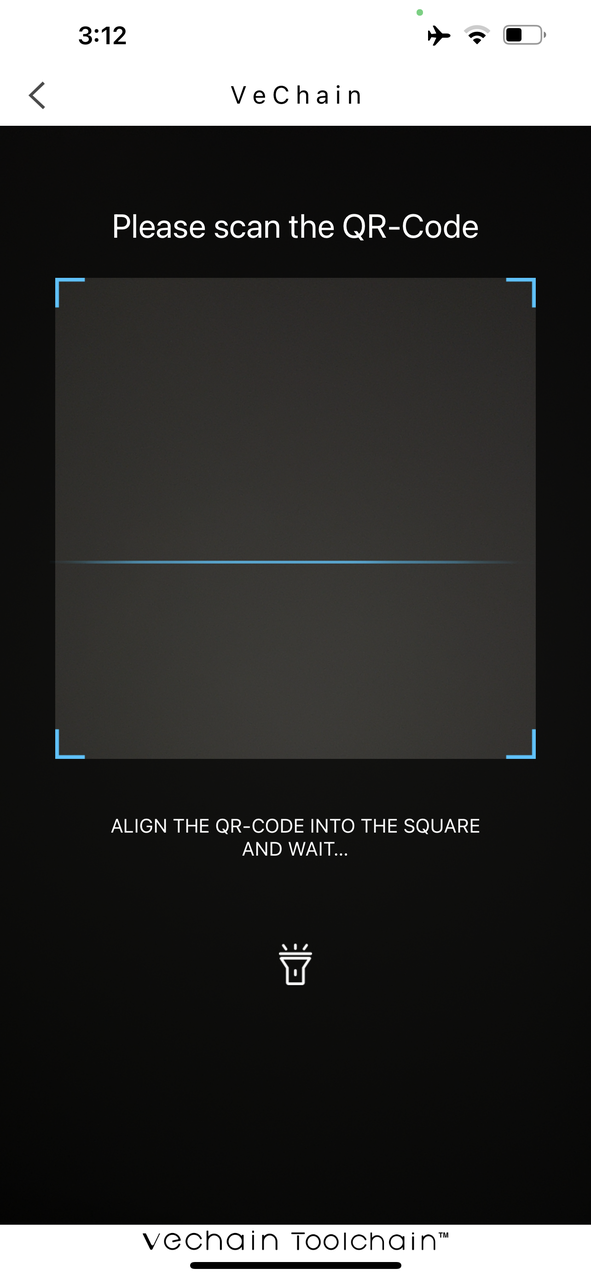
- Scan to look up a product
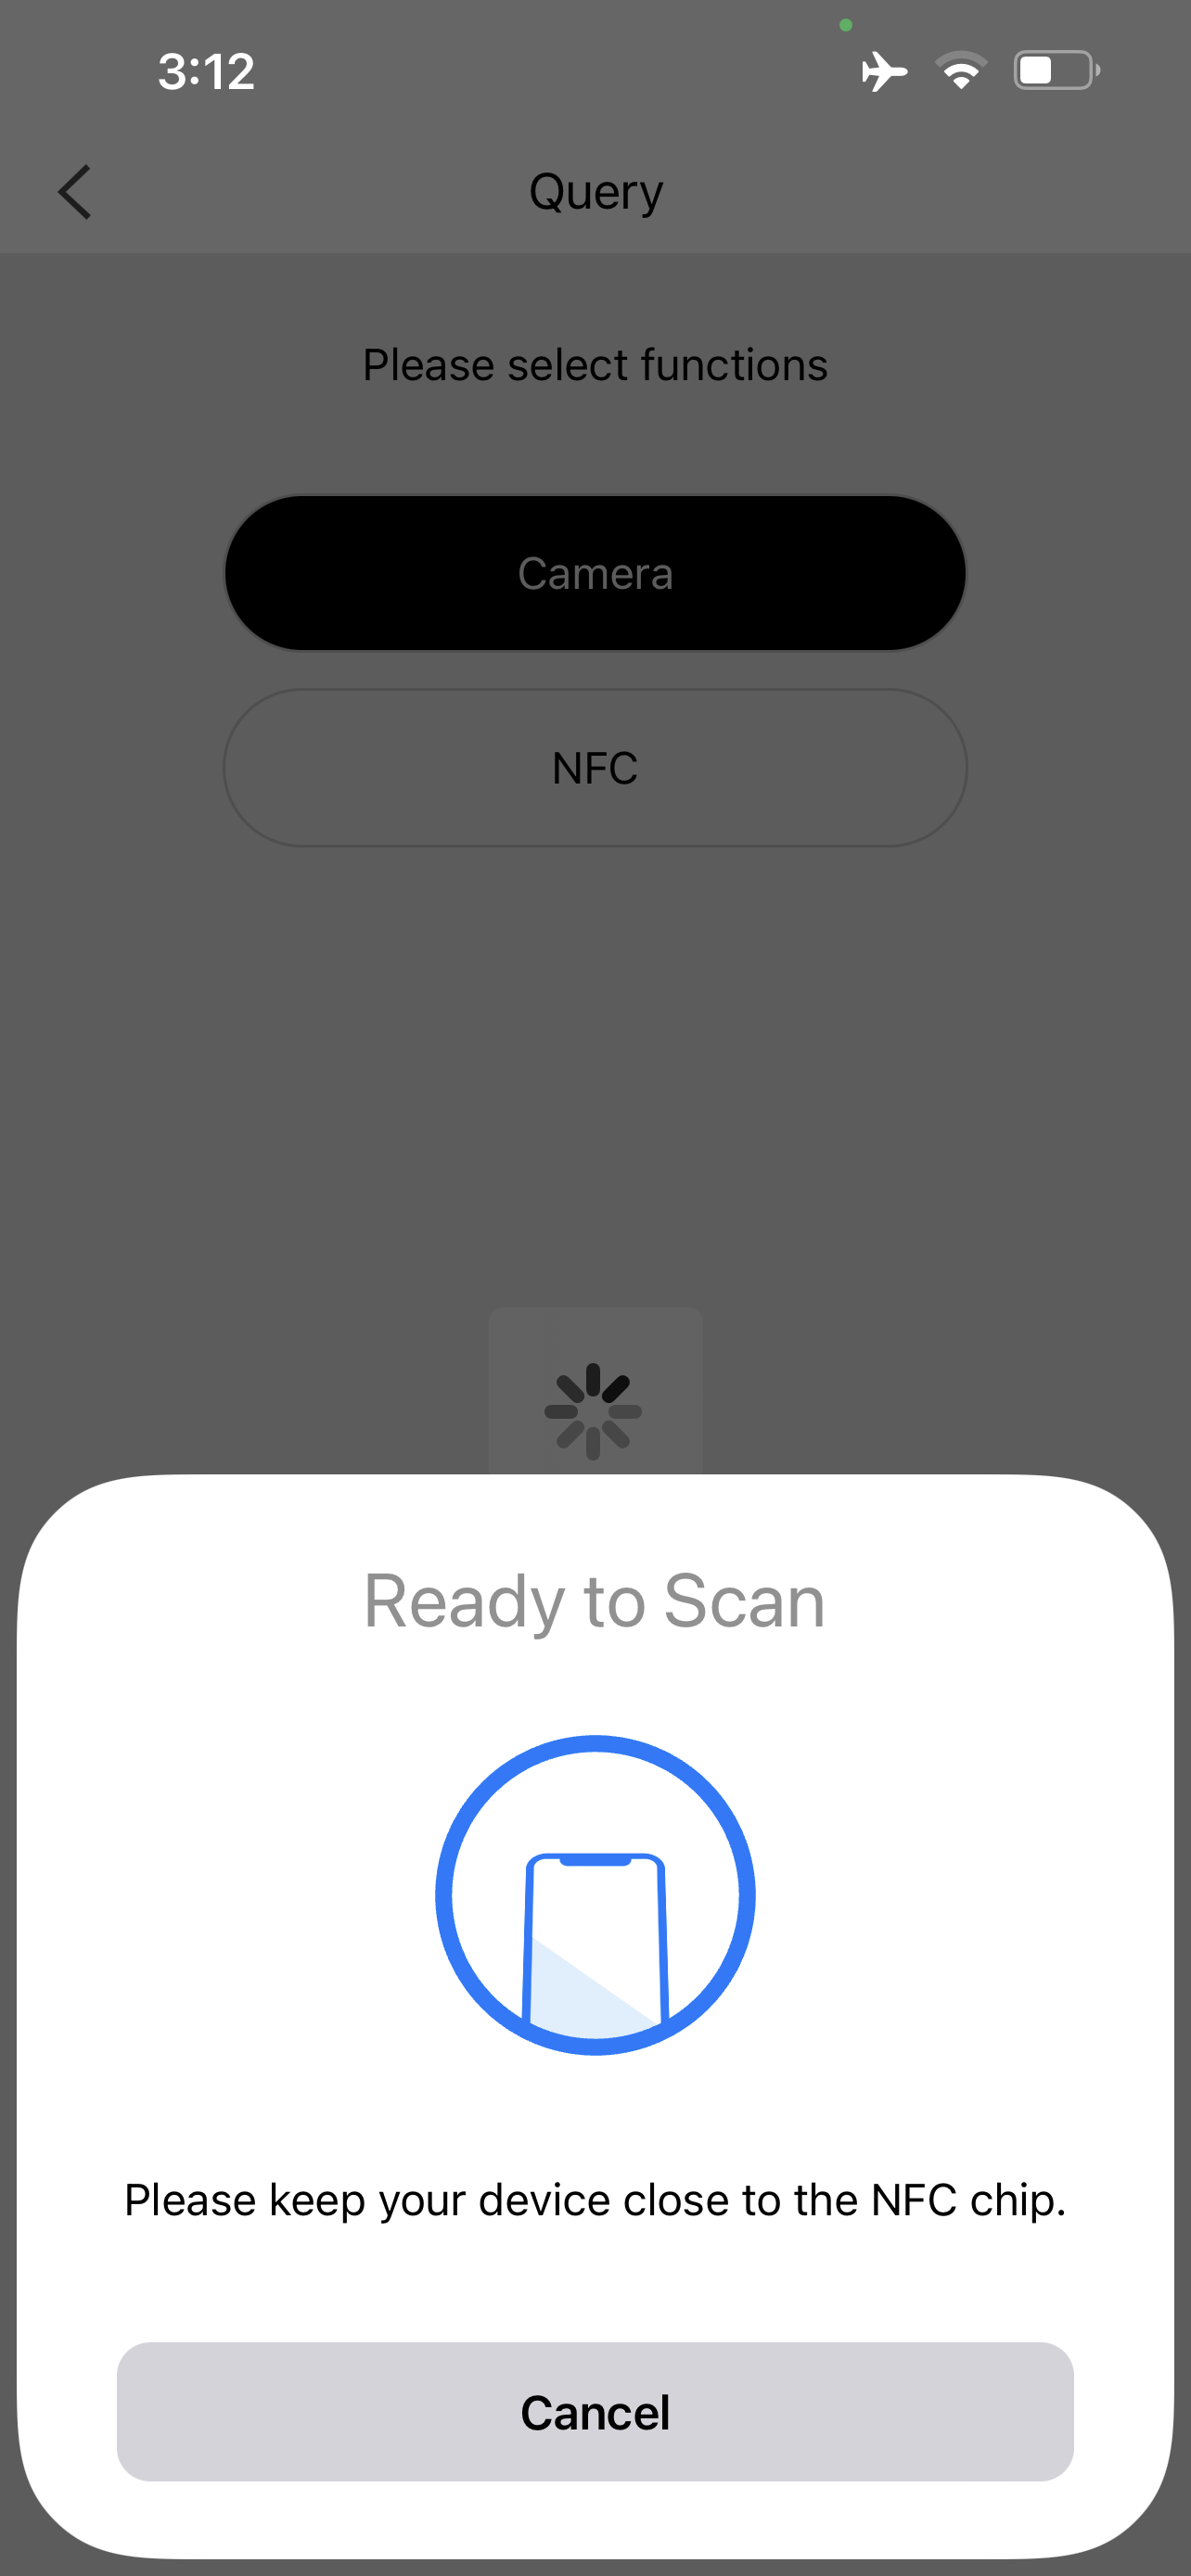
As shown in the figure below, Click <Query> on the home page to enter the query page, You can scan the QR code label or NFC chip label to query product information.
- Search Parent ID
As shown in the figure below, Click <Search parent ID> on the home page to enter the query page, You can scan the QR code label, NFC chip label or manually input the label to query the label of the upper level.
- Bind SKU
As shown in the figure below, after you enter your company from the home page, select a project under <Project List> and then tap <Bind SKU>.
Select the scanning method of tags through the <Setting> function in the upper right corner.
Scanning QR code:
Select the scanning method of QR code,and click <VIDs> and enter the page of tag list. You can choose either the 'Single Scan' or 'Scan a Range' input method.
Single Scan:Click the scanning icon to enable the device camera function, align the QR code into the square, and scan the QR code labels in turn; if you want to delete the tags, you can click the <Delete> icon on the right side of each label to delete them one by one, or click the <->icon on the top right to delete all the tags in the list.
Note: On the tag list page, users can choose only one of two Input Methods, either Single Scan or Scan a Range.
Scan a Range:Click the icon of scanning to enable the device camera function,and scan the Starting ID and Ending ID respectively. By clicking the <Pull ID List>button, the system will automatically identify all the tags in this tag segment. (Deletion follows the same steps as Single Scan mentioned above)
Note:Scan a Range only supports custom ID tags
Chip:Select scanning method of Chip,click <VIDs> and enter the page of tag list. You can choose either the 'Single Scan' or 'Scan a Range' input method.
Single Scan:Click the scanning icon, keep your device close to the NFC chip one by one, and NFC chips could be read in turn; if you want to delete the tags, you can click the 'Delete' icon on the right side of each label to delete them one by one, or click the '-' icon on the top right to delete all the tags in the list.
Note:
1、Tag List only supports to fill in custom ID or VID. The system only supports one type of ID input in one submission.
2、Ensure to perform "Confirm Receipt" under ’Order Management‘.
Scan a Range:Click the icon of scanning, keep your device close to the NFC chip, and read the chips with starting ID and ending ID separately. By clicking the <Pull ID List">button, the system will automatically identify all the tags in this tag segment. (Deletion follows the same steps as Single Scan mentioned above)
Note:
1、Scan a Range only supports custom ID tags.
2、Ensure to perform "Confirm Receipt" under 'Order Management'.
Manual Input:Select scanning method of Manual Input,click <VIDs> and enter the page of tag list. You can choose either the 'Single Scan' or 'Scan a Range' input method.
Single Scan:Input tags manually via mobile keyboard, click the <Add>button to add tags into the tag list;(Deletion follows the same steps as Single Scan mentioned above)
Note:
1、Tag List only supports to fill in custom ID or VID. The system only supports one type of ID input in one submission.
2、Ensure to perform "Confirm Receipt" under 'Order Management'.
Scan a Range:Input the starting ID and ending ID manually via mobile keyboard, and the system will automatically identify all the tags in this tag segment. (Deletion follows the same steps as Single Scan mentioned above)
Note:
1、Tag List only supports to fill in custom ID or VID. The system only supports one type of ID input in one submission.
2、Ensure to perform "Confirm Receipt" under 'Order Management'.
[Bind SKU]After the completion of"VIDs"part, select SKU under "SKU Info". Complete Bind SKU by clicking <Submit>button.
[History] You can view your submission history and upload status through clicking the Settings icon in the upper right corner.
- Group binding
At the stage of logistics, it is convenient for enterprises to pack goods into boxes for transportation, and unpacking is not allowed during the transportation information collection process. Therefore, you need to bind the box code to the goods code. In the subsequent transportation process, you only need to scan the box code for data collection, and the relevant data will be automatically synchronized to the goods code in the box. The tag of the box is Parent VID and the commodity tag is Sub VID.
[Parent VID] Rules of tags inputs : Enable the corresponding function(QR Code/Chip/Manual Input) according to the tags input setting, and one parent VID can be selected for one operation.
[Sub VID]Rules of tags inputs: Refer to the rules of " Bind SKU "
[Bind Group]Click "Submit" after completion of tags inputs.
- Unbind Group
When you take out the goods from the box, please remember to unbind the goods code with the box code, otherwise the new information collected by this project subsequently will be synchronized to the goods, causing unnecessary losses.
As shown below, enter 'Unbind Group' on the page of Datapoint List.
[Parent VID]Rules of tags inputs : Enable the corresponding function(QR Code/Chip/Manual Input) according to the tags input setting, and one parent VID can be selected for one operation.
[Sub VID]Rules of tags inputs: Refer to the rules of " Bind SKU "
[Unbind Group] Click "Submit" after completion of tags inputs.
- Traceability information
As shown below, enter [Traceability Information] under the page of Datapoint List
Click <Traceability Information>above to enter the traceability information page. Edit traceability information , click [VID list],and select the camera mode in the setup menu according to the tag type. If you operate multiple products at the same time, please select the group scan mode to scan the tags and obtain the VID information list. ToolChain Work will automatically obtain"Track time"and"GPS". You need to manually enter the"Department"of the operation traceability information to upload pictures, videos and PDF files. Finally, click Submit to complete the trace information operation.
Rules of tags inputs: Refer to the rules of " Bind SKU "
Comments
0 comments
Please sign in to leave a comment.